5 Jul 2025 - 4 hours
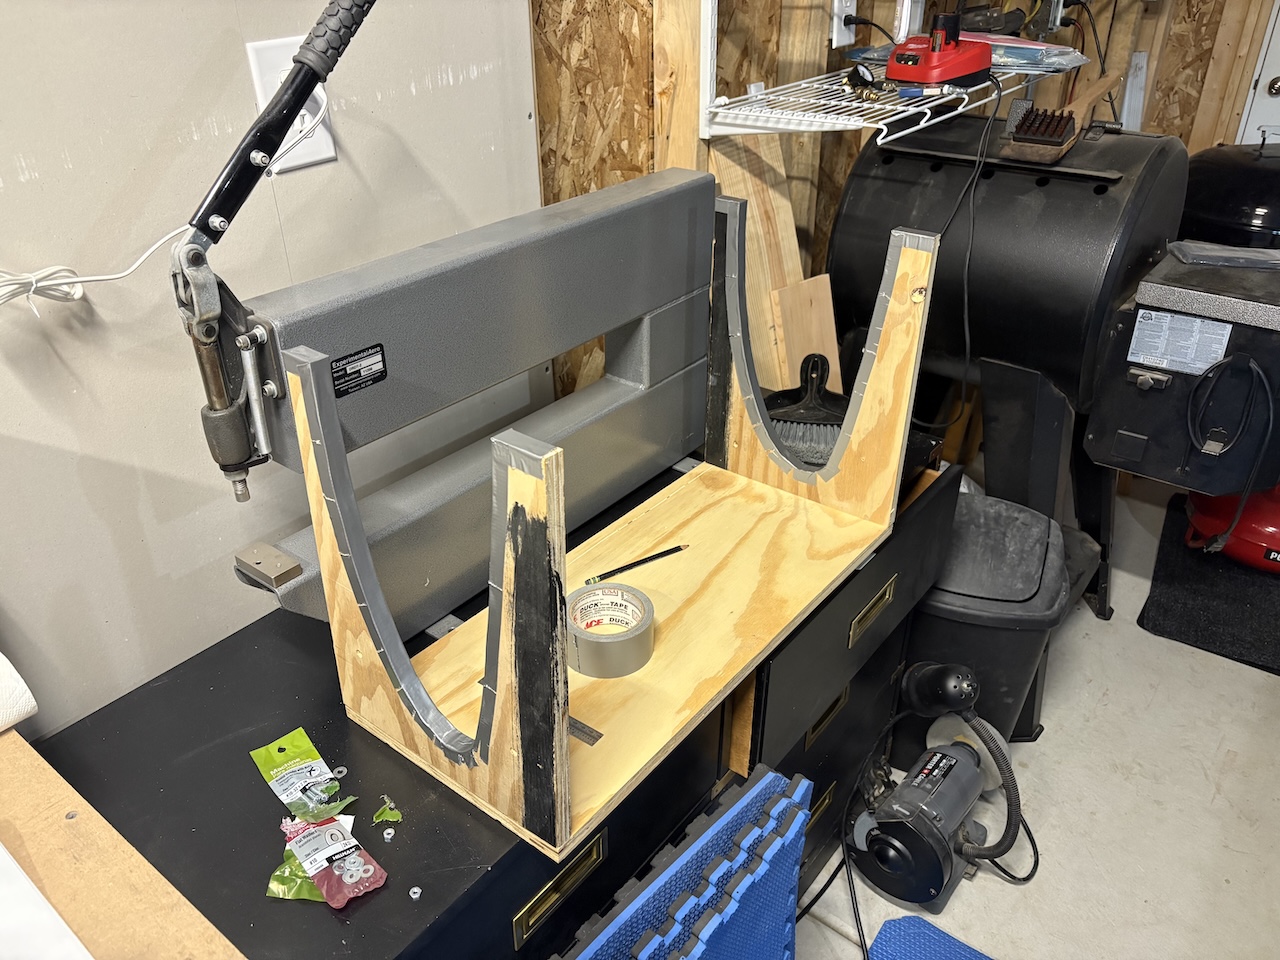
I started out the day by moving all the clecos in the bottom of the right wing over by one hole and match drilling the previously occupied one. Nothing difficult but takes a while. Then I whipped up the cradle that will control the leading edge skins and get them roughly in the right shape so that the ribs are easier to get clecoed in place. I didn't have any scrap wood that was big enough for the dimensions listed in drawing 12A, but I did have a bunch of old stair treads that were 11.75" wide and 3/4" thick so I made do with those. Cut them to 15" on the table saw and then traced out a nose rib to get close to the right profile, then added 1/8" more space, then cut the shape out on the bandsaw.I trimmed another tread to be 26" long and then screwed the cradle ends to the stretcher piece. I covered the inside of the cradle with duct tape to give a little protection to the skins et voila:
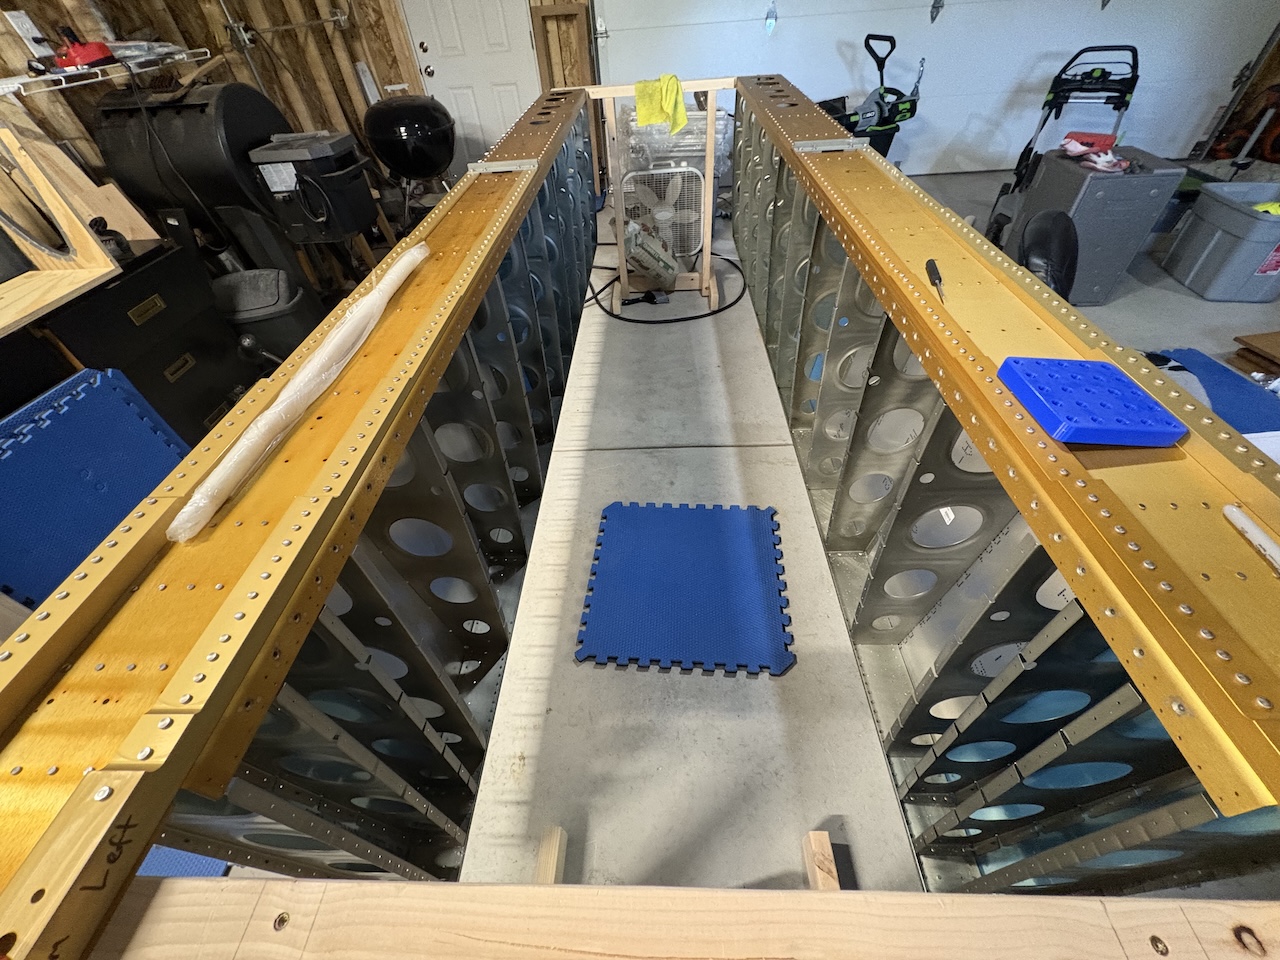
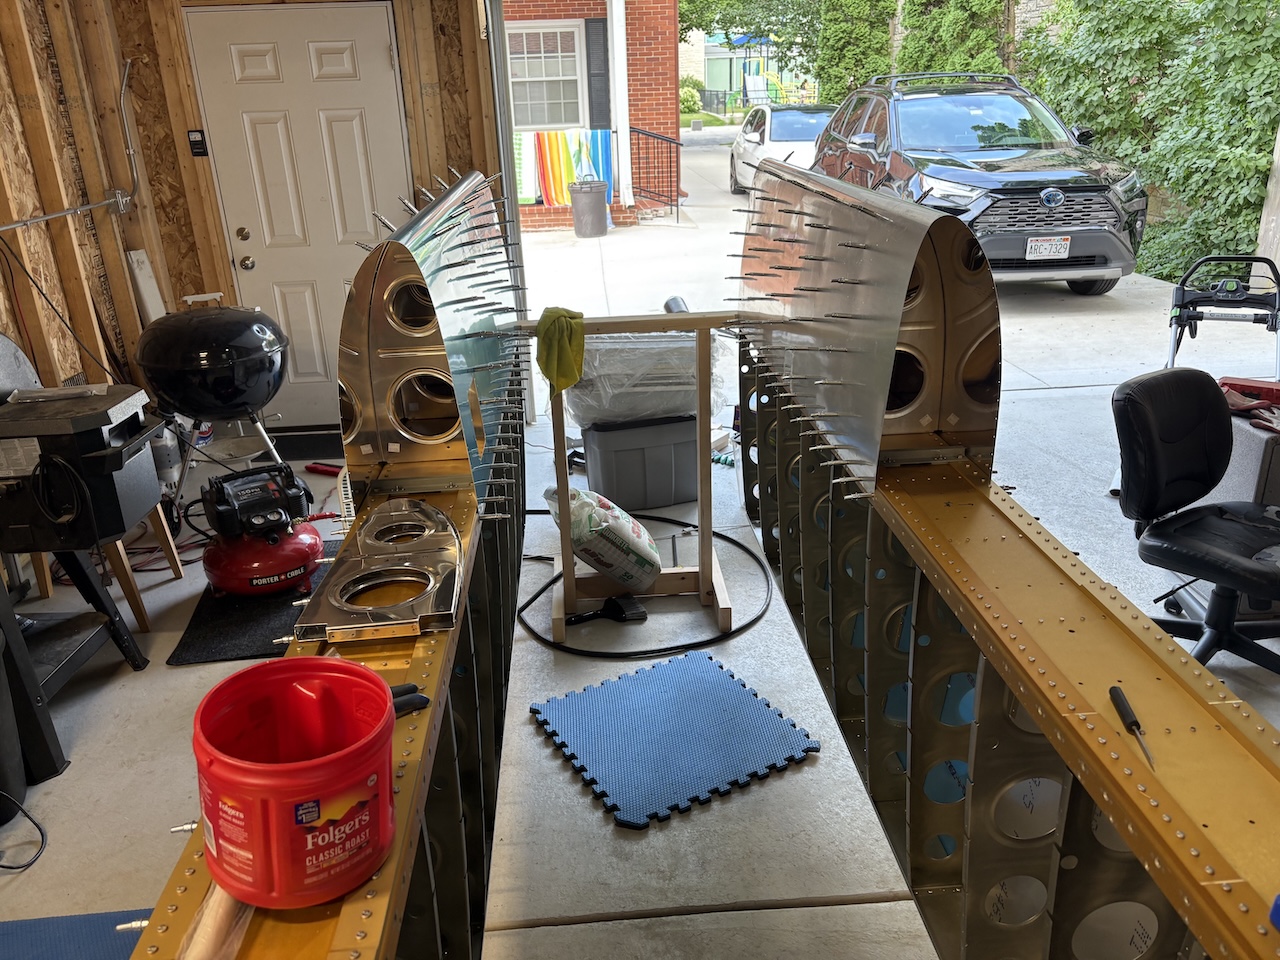
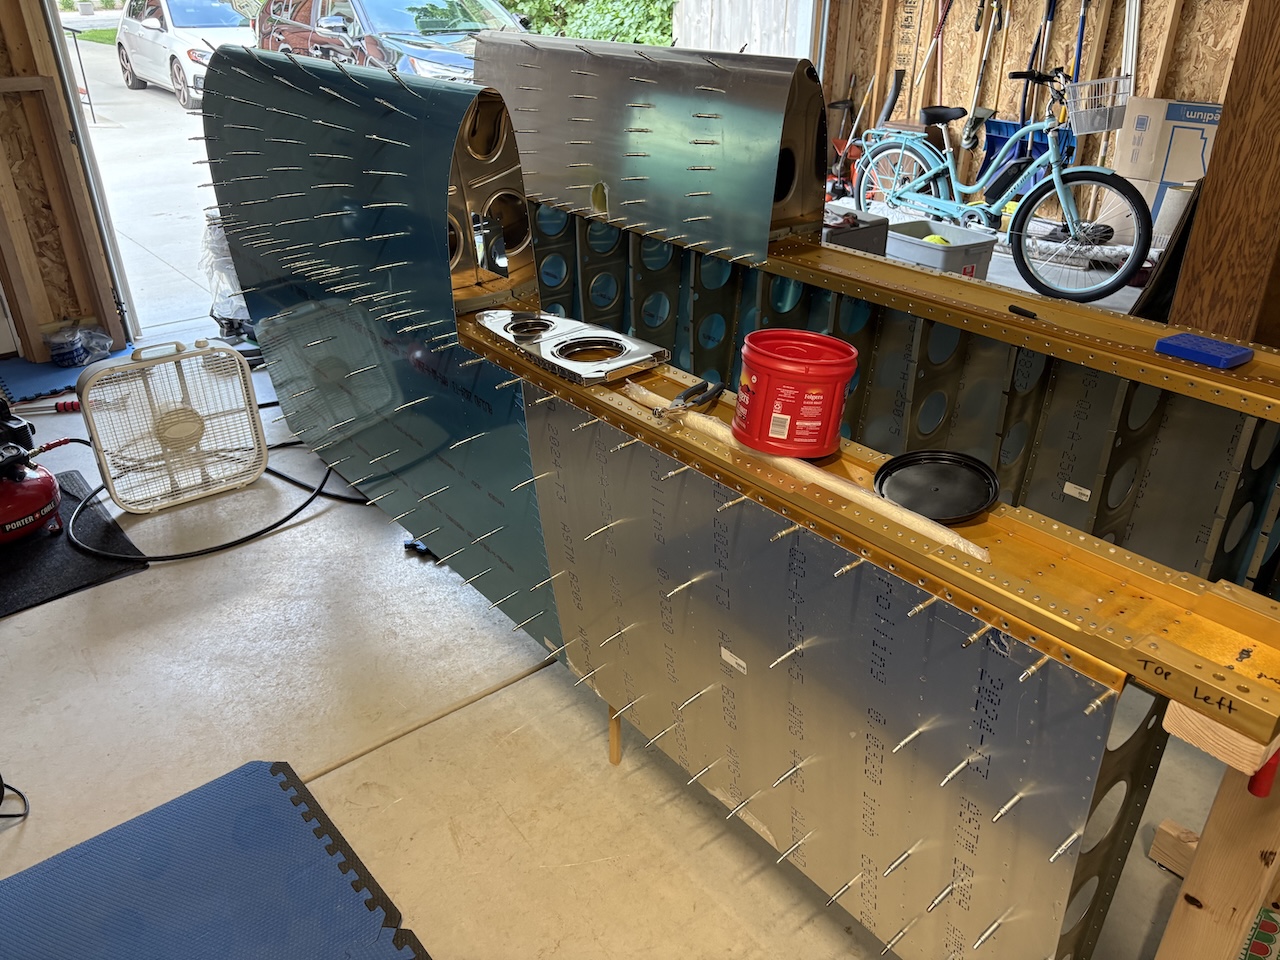
Next, I took off the bottom skins.
Then I clecoed in the nose ribs to the leading edge skins. Here is the left one already on the wing:
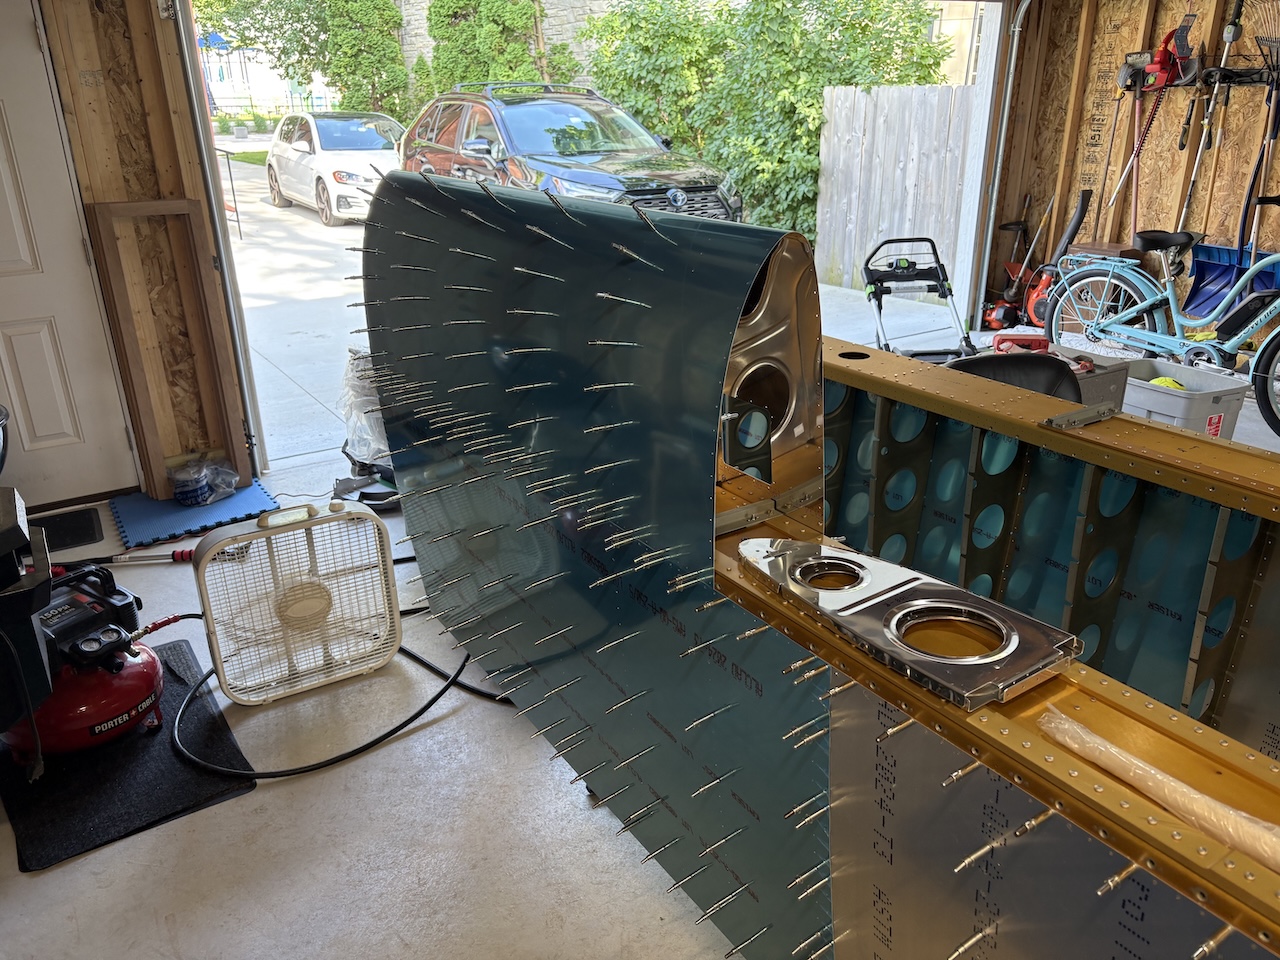
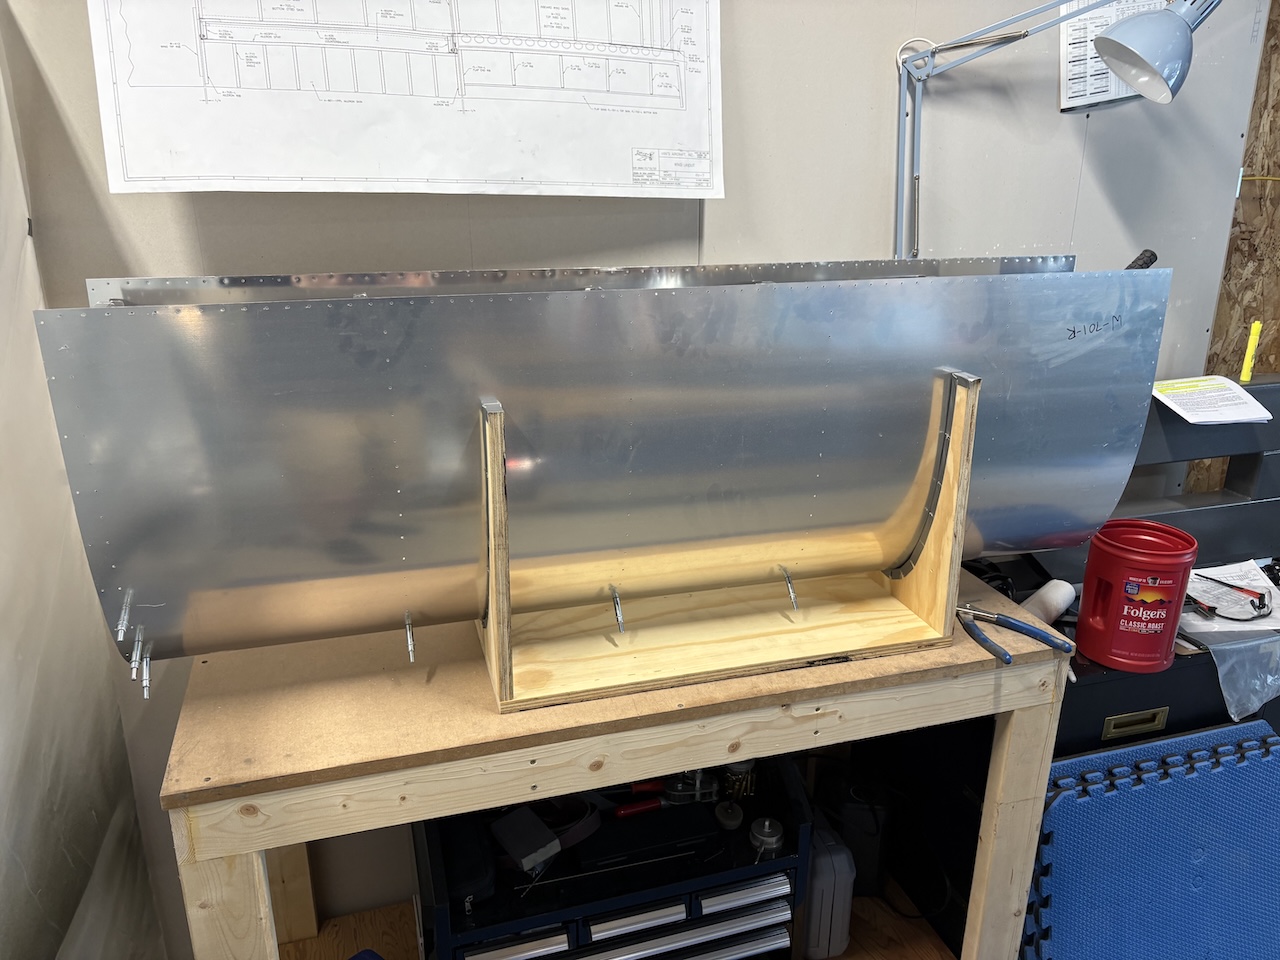
Then I did the same process on the right one. Here it is in the cradle:
And on the wing:
I was running low on clecos so I went through and "thinned the herd" of the clecos on the wing skins to free up some for the leading edges.
For some reason, I didn't take a picture but I continued working by separating the joint strips from the tank skins, cleaning them up, and getting them fitted along with the W-708 wing ribs that fill that inboard spot on the leading edge skins. They came out really nice and everything went smoothly today, which was great considering it was 93 degrees and very humid in the garage today! Next up is tanks...