20 Feb 2026 - 1.7 hours
Snuck out to the garage a made some progress this afternoon. I was all set to start riveting the ribs into the leading edges when it occurred to me I hadn't done anything with the access hole for the stall warning horn. All the parts are pre-cut to perfect size and the holes are even drilled to the final size so no drilling was required. I simply deburred all the edges and holes, then dimpled them for the rivets and nutplates.The skinny female #40 dimple die again was the star as I did the dimples for the #6 screws first, then did the #40 dimples for the rivets and the skinny die was able to not smoosh the central #6 dimple. I also used it to dimple the nutplate rivet holes and avoid the central threaded part.
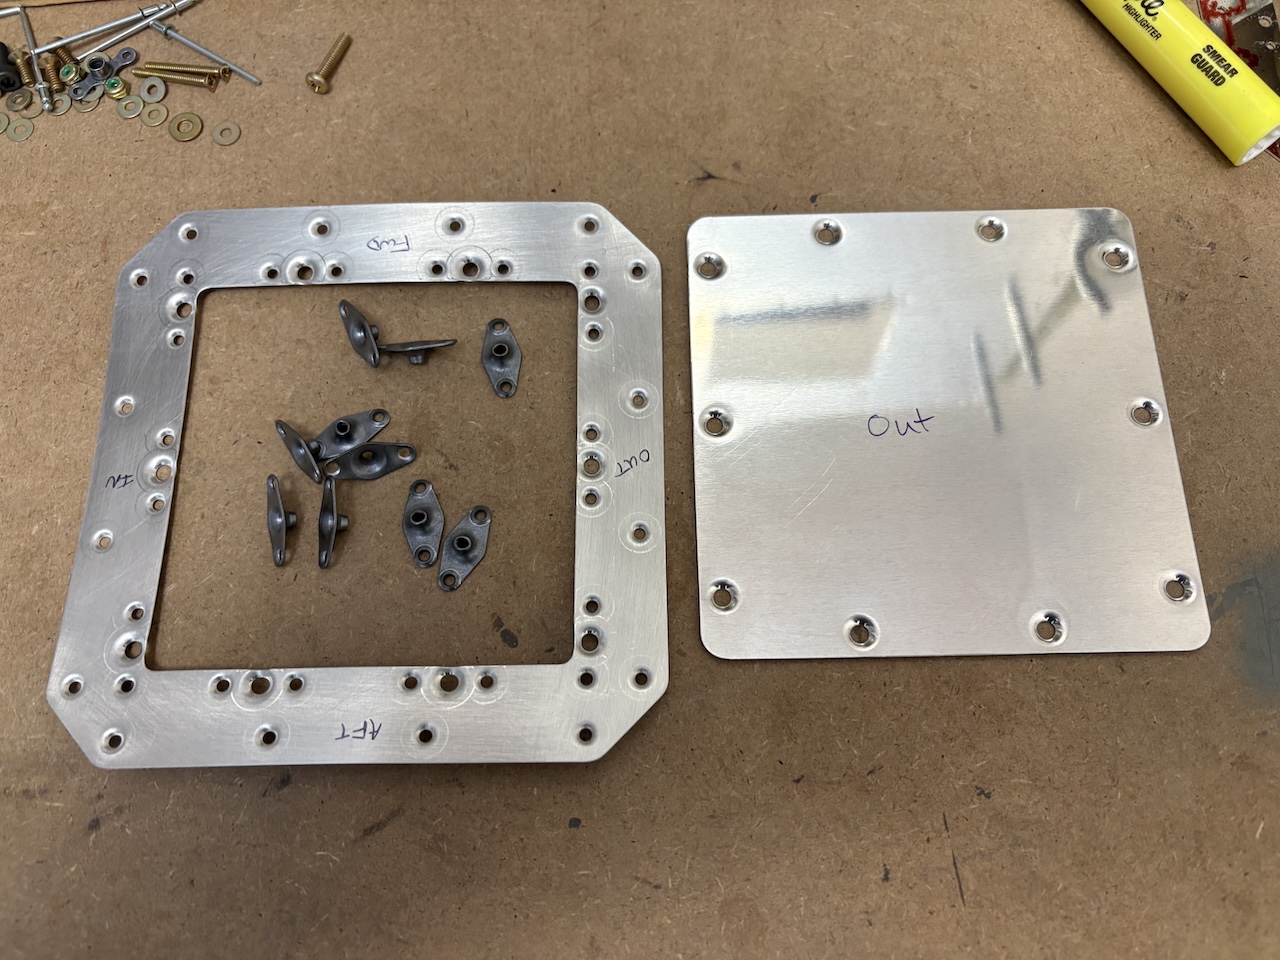
I gave the parts a scouring with the scothbrite pad and cleaned them with lacquer thinner, then just hit them with the spray can of self-etching primer. I didn't give it a long time to cure, just enough to dry to the touch so when I set the rivets to attach the nutplates, a bit of primer got scratched off but not too bad.
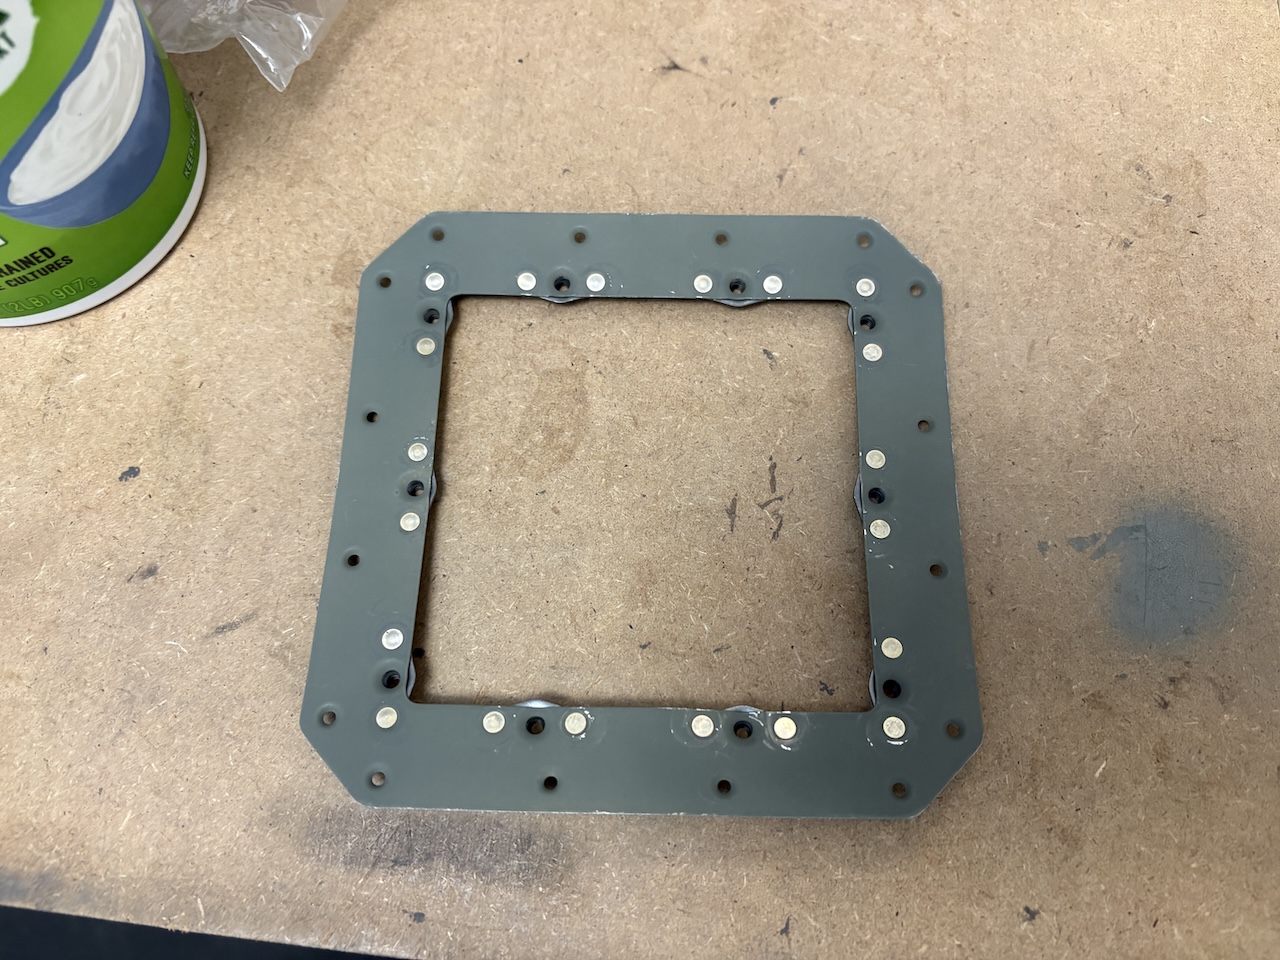
I put the doubler plate with nutplates in place on the skin and squeezed the 16 rivets to attach it to the skin. The doubler was pretty warped from dimples and nutplates but the rivets coerced it very nicely into shape on the skin.

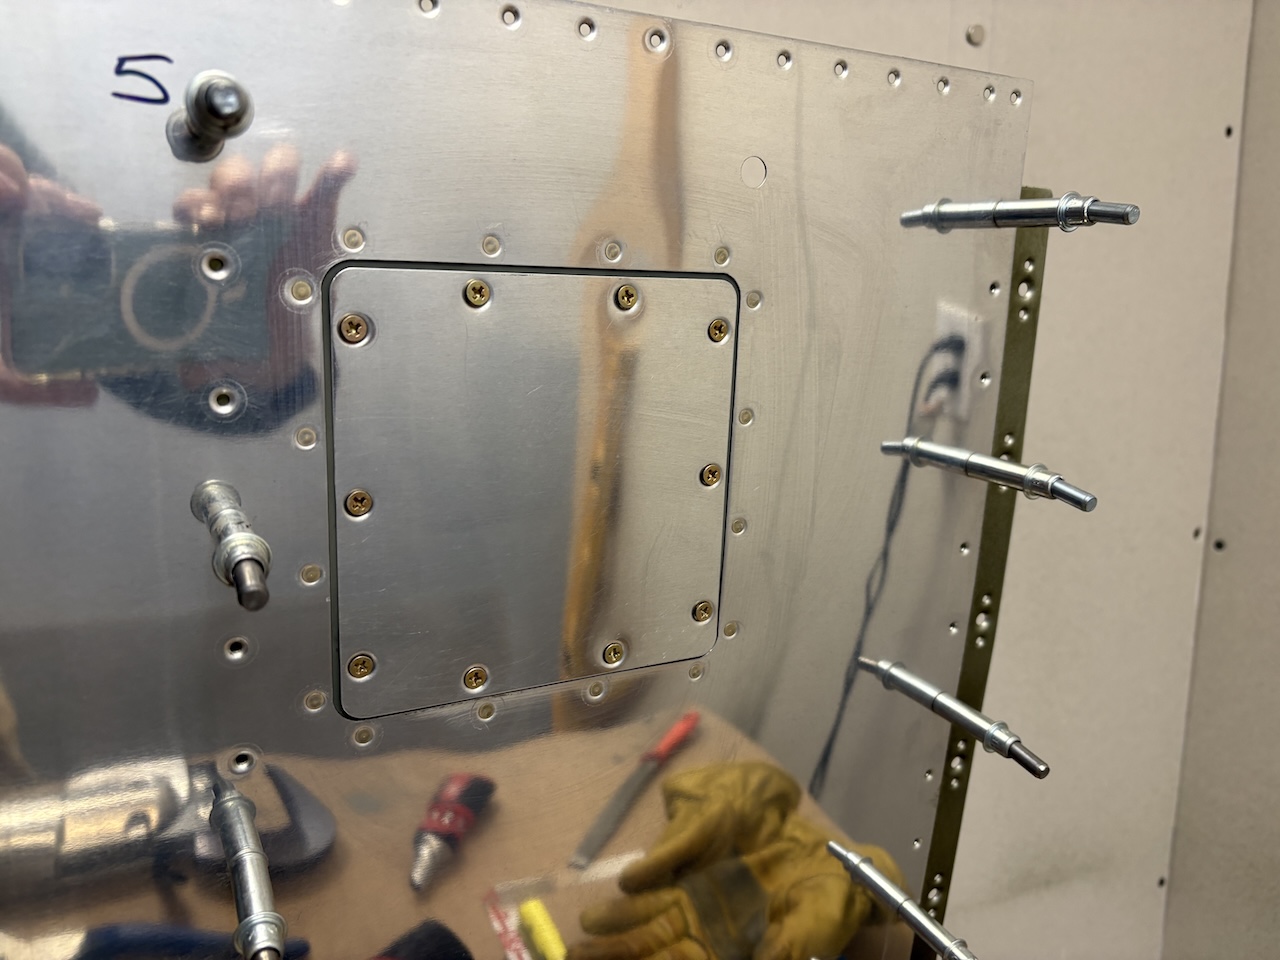
I screwed on the access hole cover plate just to see how it looked. The screws aren't tight in this picture, it's just sort of floating in place. I didn't want to tighten it down because the primer isn't fully cured and I don't want it to stick and glue itself into place, but I also don't want to lose the panel or scratch it up so I just attached it loosely.
This was very satisfying to start and finish a task in a single session and have it be visible progress. Next up will be riveting the leading edge ribs to the skins!