21 Mar 2026 - 3.5 hours
Lots of visible progress today! I had to buy a new rivet puller as the one that I had wouldn't fit between the wing ribs and also had a oddly tall protrusion on the top that prevented it from sitting close enough to the rib to pull the rivets that I needed to set. I am using LP4-3 pop rivets to attach the nose ribs to the spar.With my new rivet puller (with a swivel head, too!) ground down a little bit and a wedge made to angle the puller away from the rib, I managed to set all these without issue.
Then I set all the skin-to-spar-flange rivets on both top and bottom.
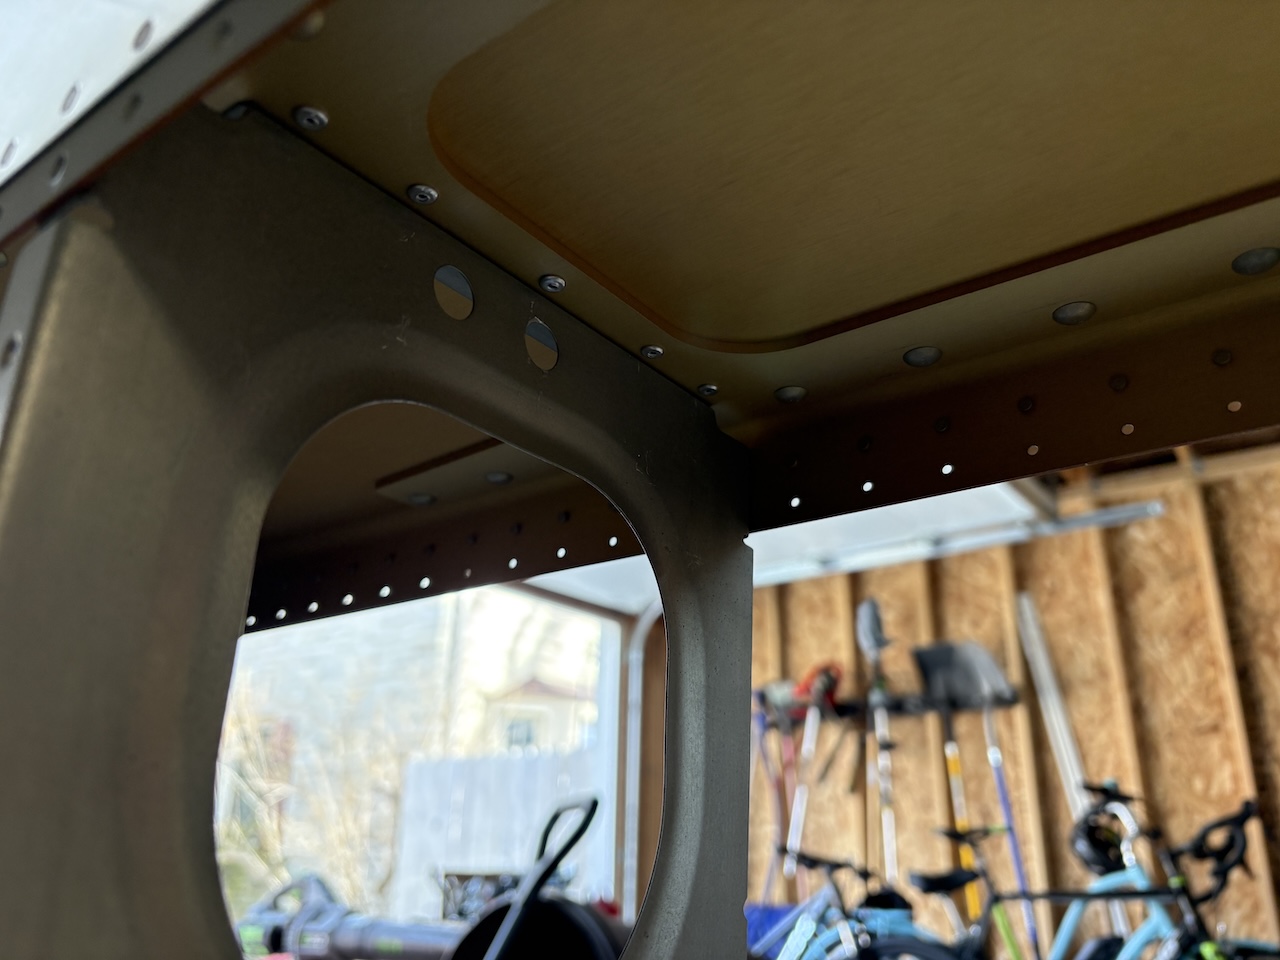
I moved onto attaching the tank attach nutplates to that extra little strip on the inboard edge of the leading edge. I had to dimple the nutplates which causes them to bend the wrong way and actually go against the curve of the airfoil so I spent some time curving them in the right direction before permanently attaching them.
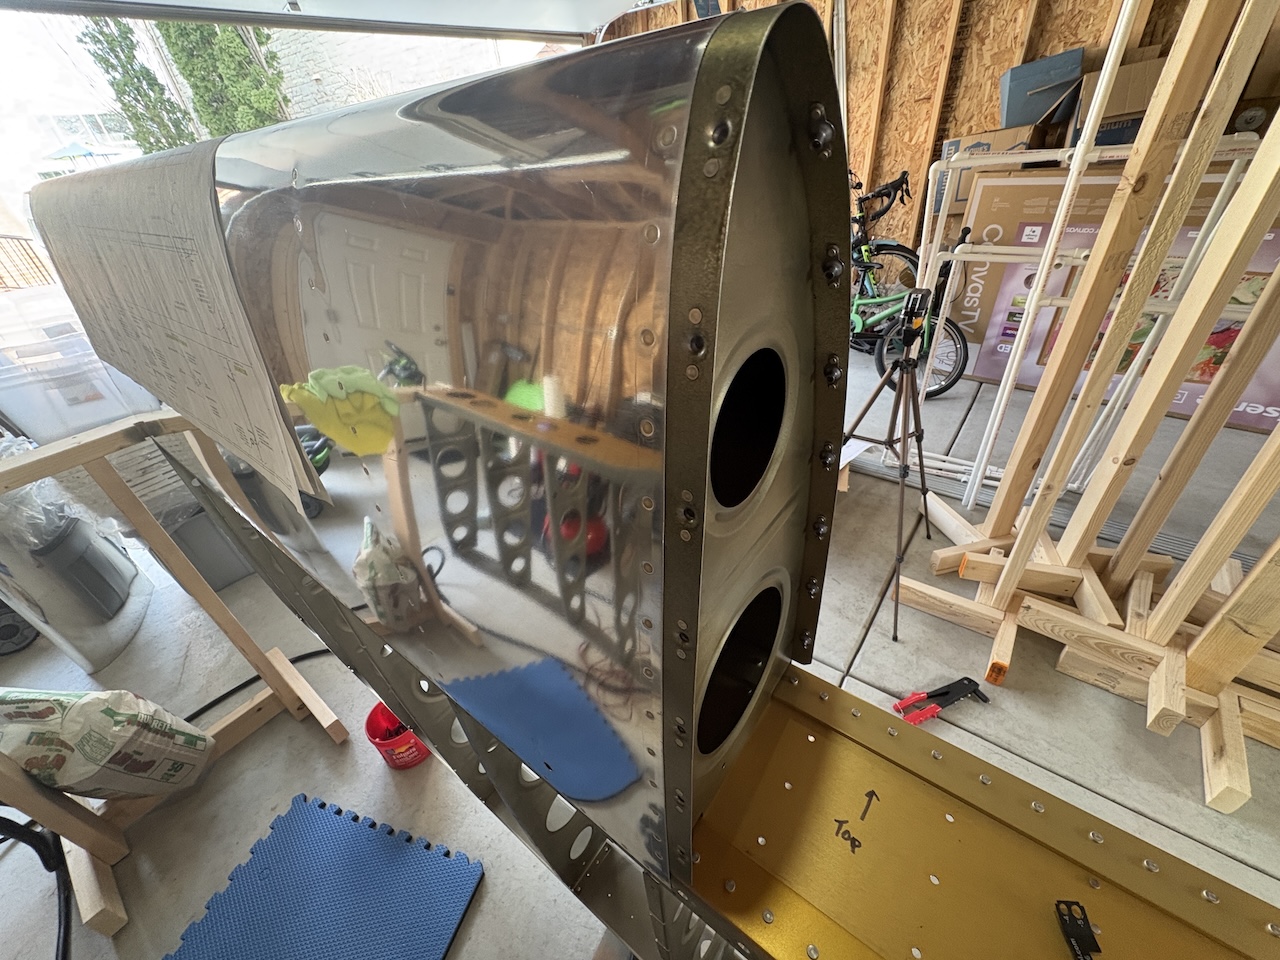
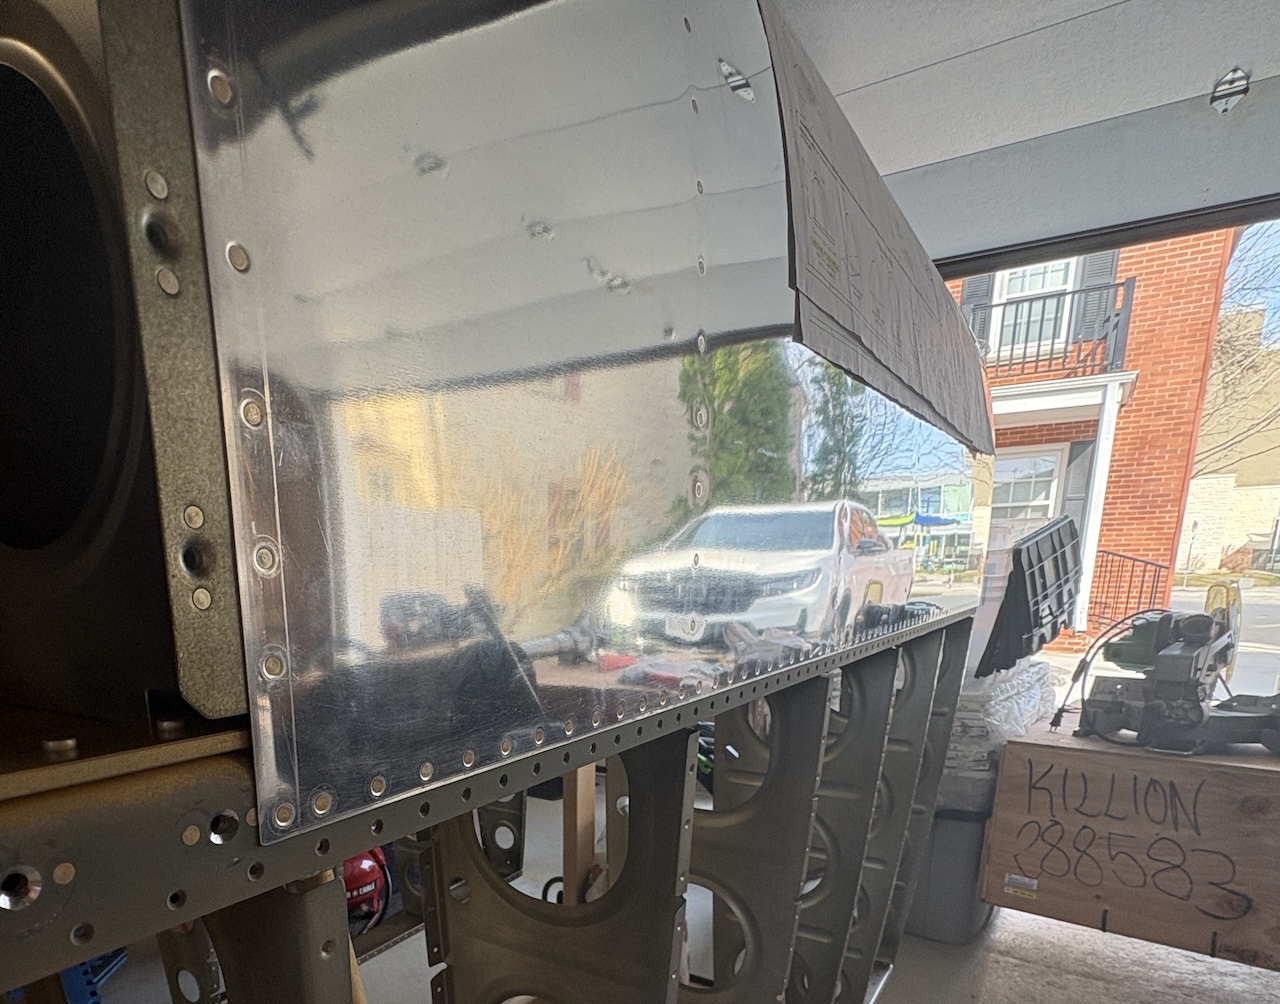
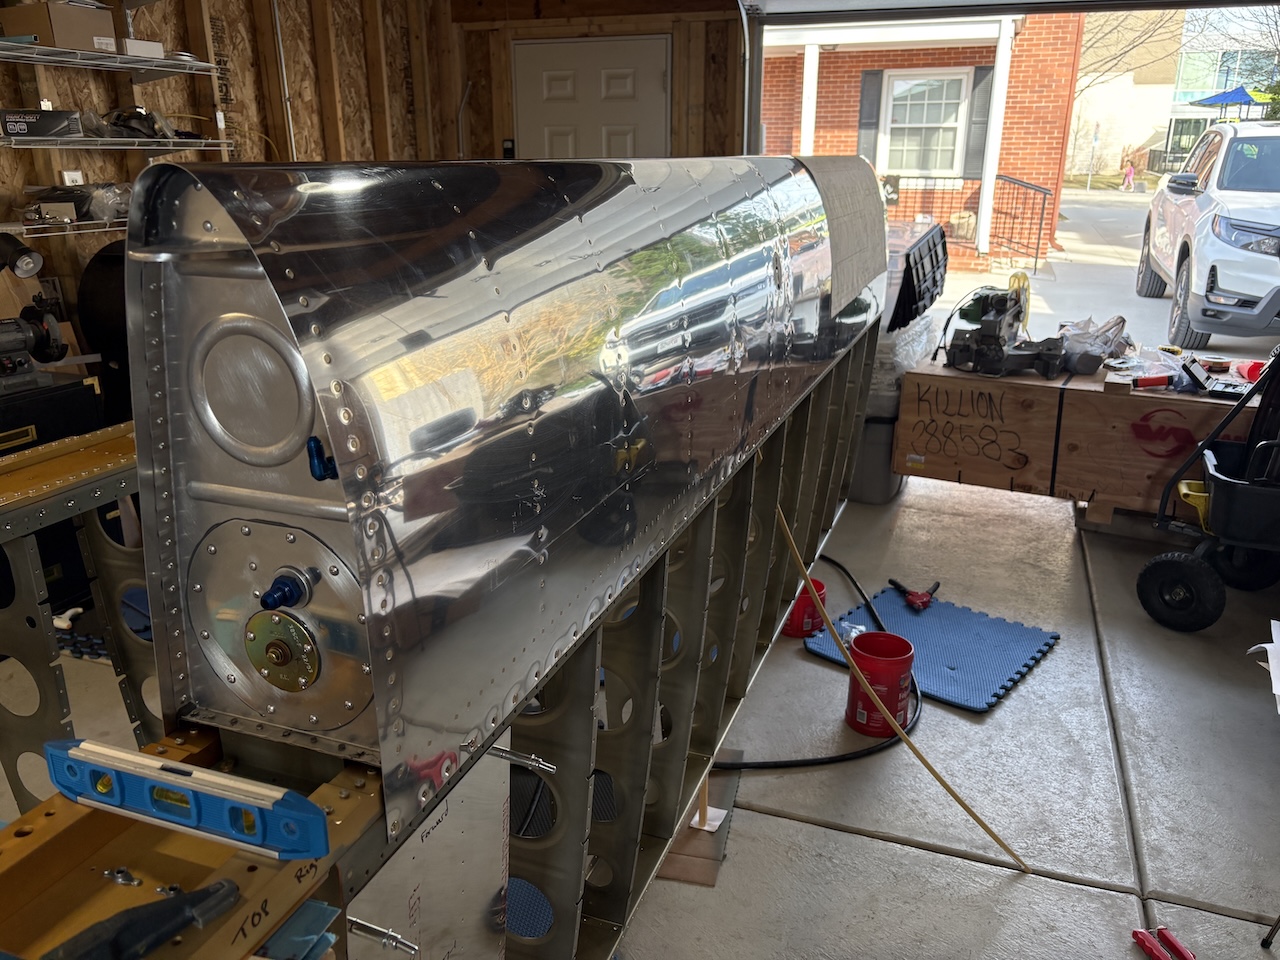
Just to see how it would look, I put the tank on the wing, and it looks good! I forgot to prime the countersinks on the spar (again...) and the tank skin needs to be filed down a bit to leave a little bit of a gap between the tank skin and outboard leading edge skin, so it will come off again, but it's fun to see it on there!
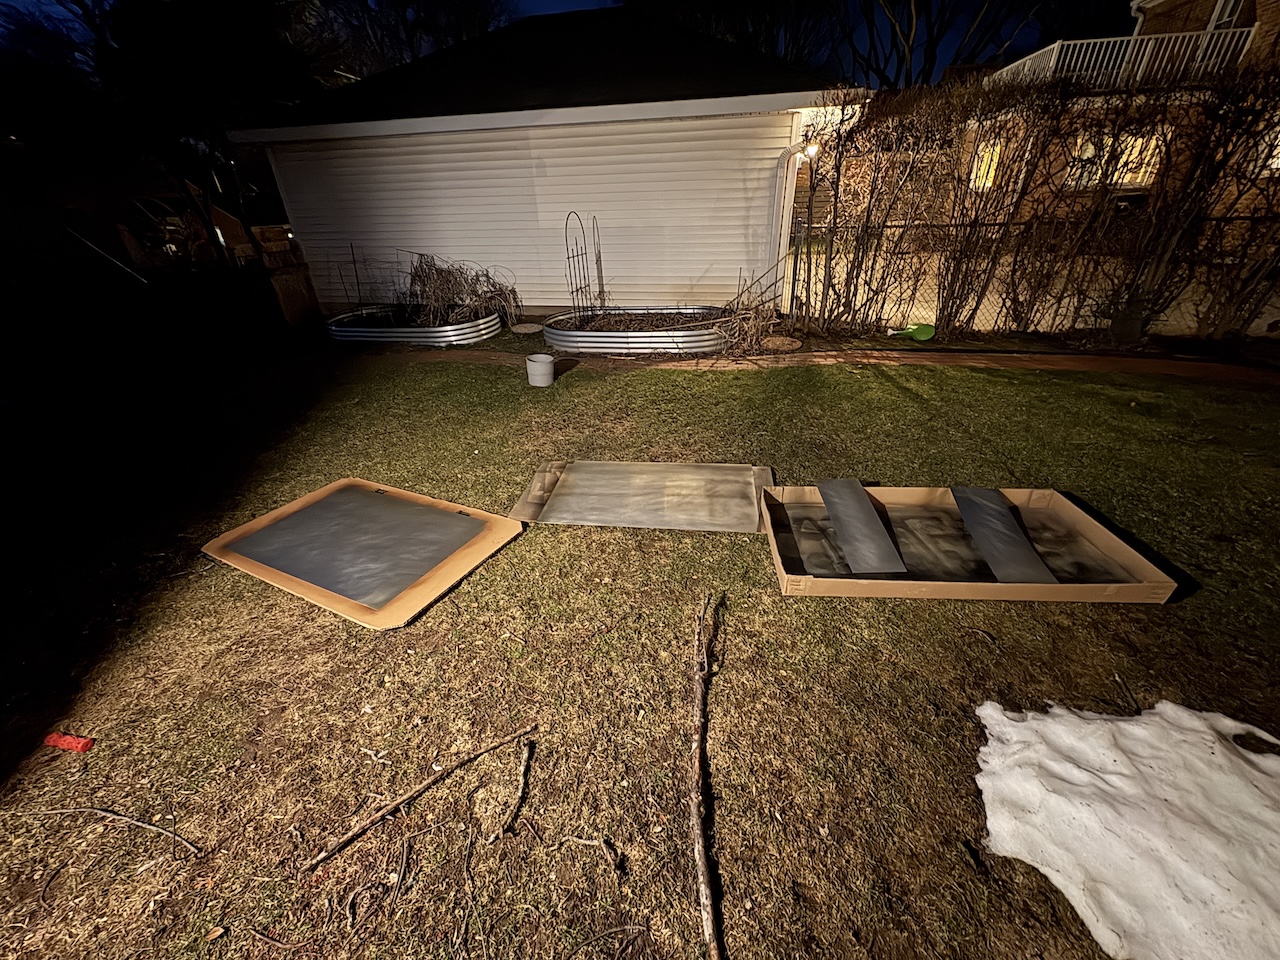
It was an oddly warm day for mid March (over 70 degrees!) and it was still quite warm this evening when I found some extra time, so I scuffed and cleaned the top inboard wing skins and wing-walk doublers, then took them to the grass and sprayed them with primer! I didn't want to but this was the perfect opportunity to do it and set myself up for more progress in the near future so I powered through! Once the leading edges are sorted, the top skins go on so this needed to get done sooner rather than later. Next they need dimpling and then are ready to be permanently attached!
At the very end of the day, I did end up removing the right tank, so I got that going for me, which is nice.