4 May 2024 - 1 hour
I clecoed the VS skeleton back together and drilled the new tip rib to the spars. Then I clecoed on the skin to match-drill the holes. Unfortunately, the skin is already dimpled which enlarges the hole and doesn't really work as a template for all the holes. Fortunately, the pre-punched holes are so accurate, I felt comfortable just drilling the rib holes out without the skin. Unfortunately, the farthest forward hole on each side of the tip rib is not pre-punched so I had to use the dimpled skin as a template to place those. I drilled carefully to get the holes in the right spot, and then took everything apart, deburred all the edges and holes, and dimpled the rib.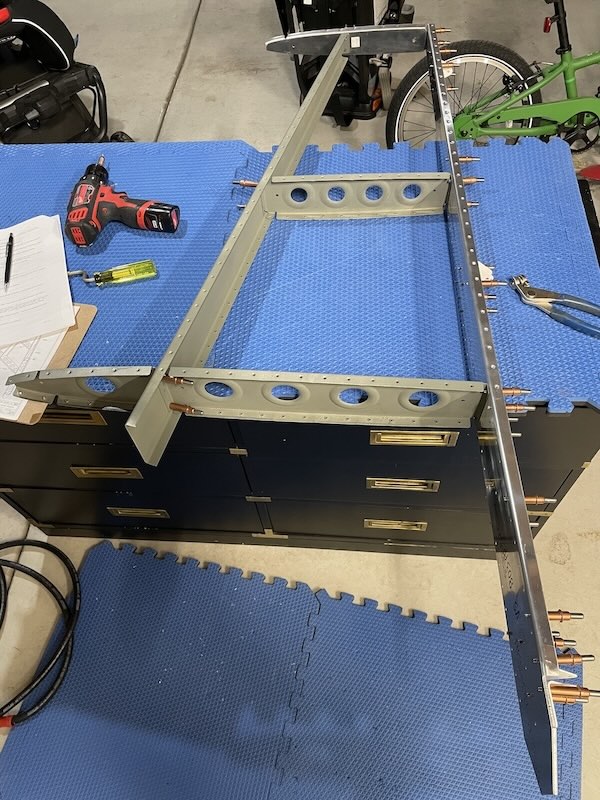
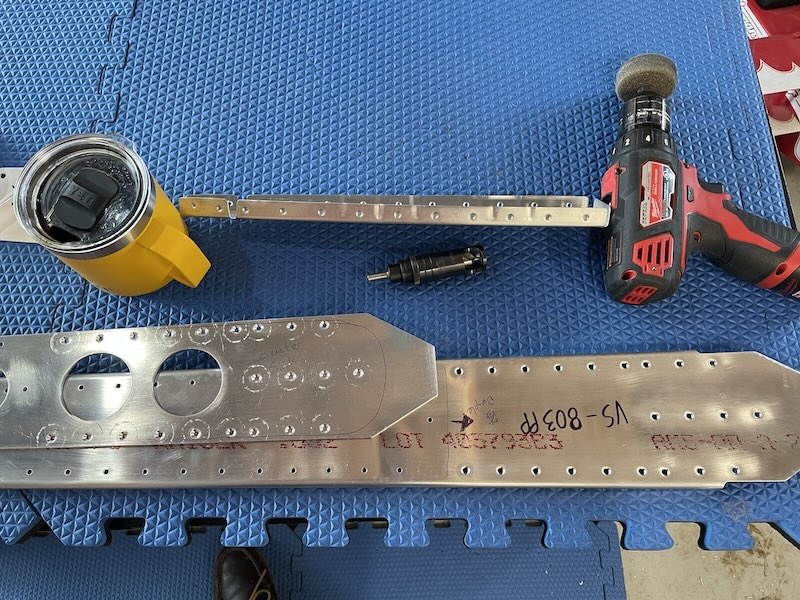
I moved onto the rear spar after taking care of the tip rib. The bottom of the VS rear spar mounts to the fuselage and therefore needs flush rivets on the forward side of the spar. I dimpled the rear spar to accept those flush rivets and then countersunk the rear spar doubler to accept the rear spar dimples.
Here's the results of the day: the new tip rib, the spar, and the doubler. Next is to prep these parts for priming, prime them, and then start riveting the VS together!