7 Dec 2025 - 4.5 hours
Huge day today, I got the baffle on the right tank! I mixed up 55 grams of sealant and put it into a plastic sandwich bag. I then cut off the corner of the bag and squeezed it out the corner to make a very handy applicator. This 55 g was enough to get the sealant bead around the baffle, but just barely. I will do 66 grams on the other tank to have a little extra.Here is the bead laid down nicely. I went right at the edges of the holes so the baffle will squeegee it down when it slides into place. This should create a good seal and keep the gas in the tank. I was also careful to keep the bead of sealant continuous and to make sure it smooshed back together if I had to stop and restart the bead. I don't want any pinhole gaps to cause weeping/leaking.
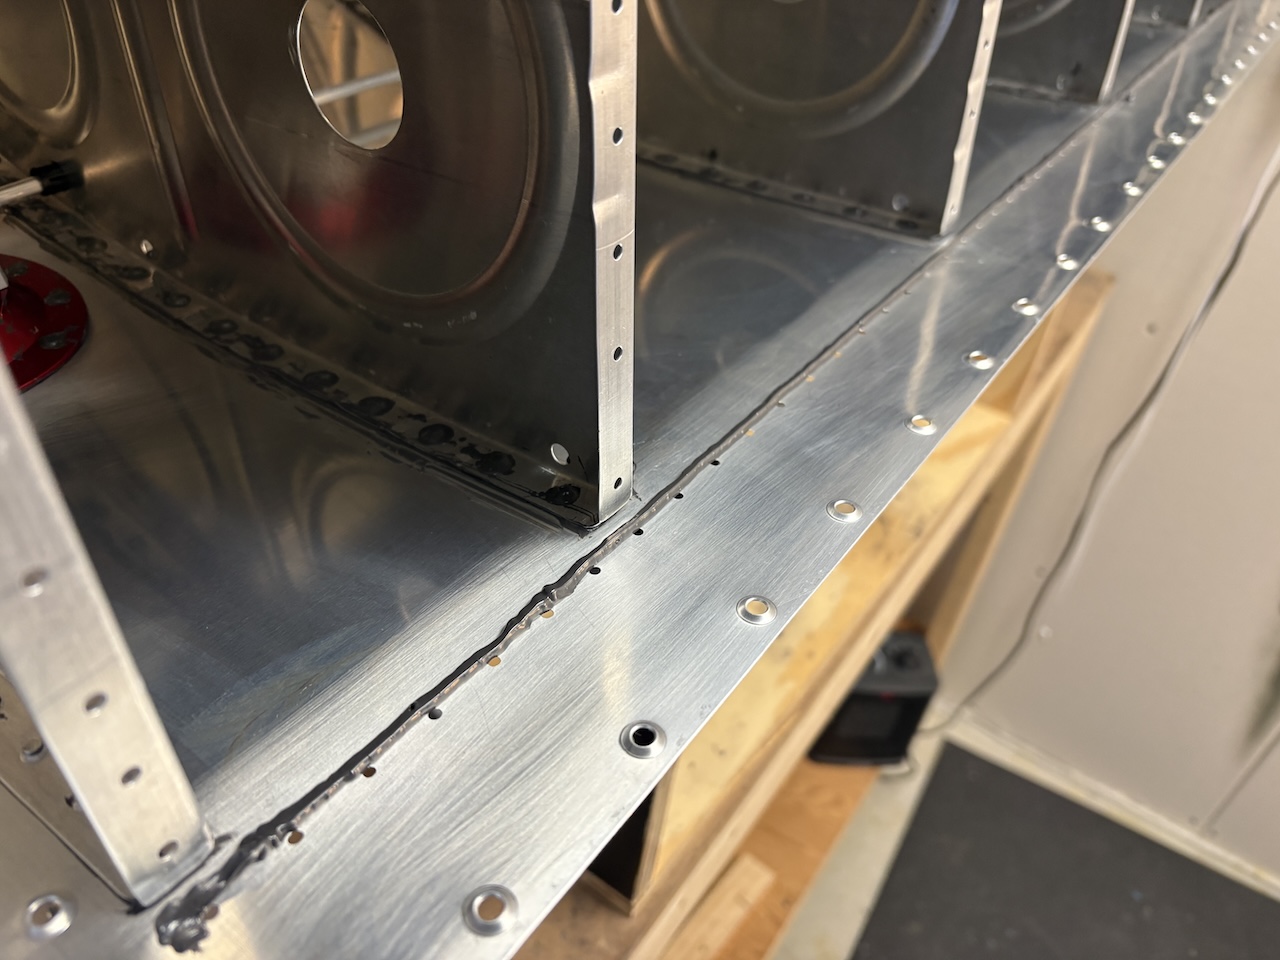
I smeared a small bit around the top and bottom rib to baffle holes. Also note the extra sealant in the corners of the tanks. There are some pretty big gaps there that need a little extra sealant to block off.
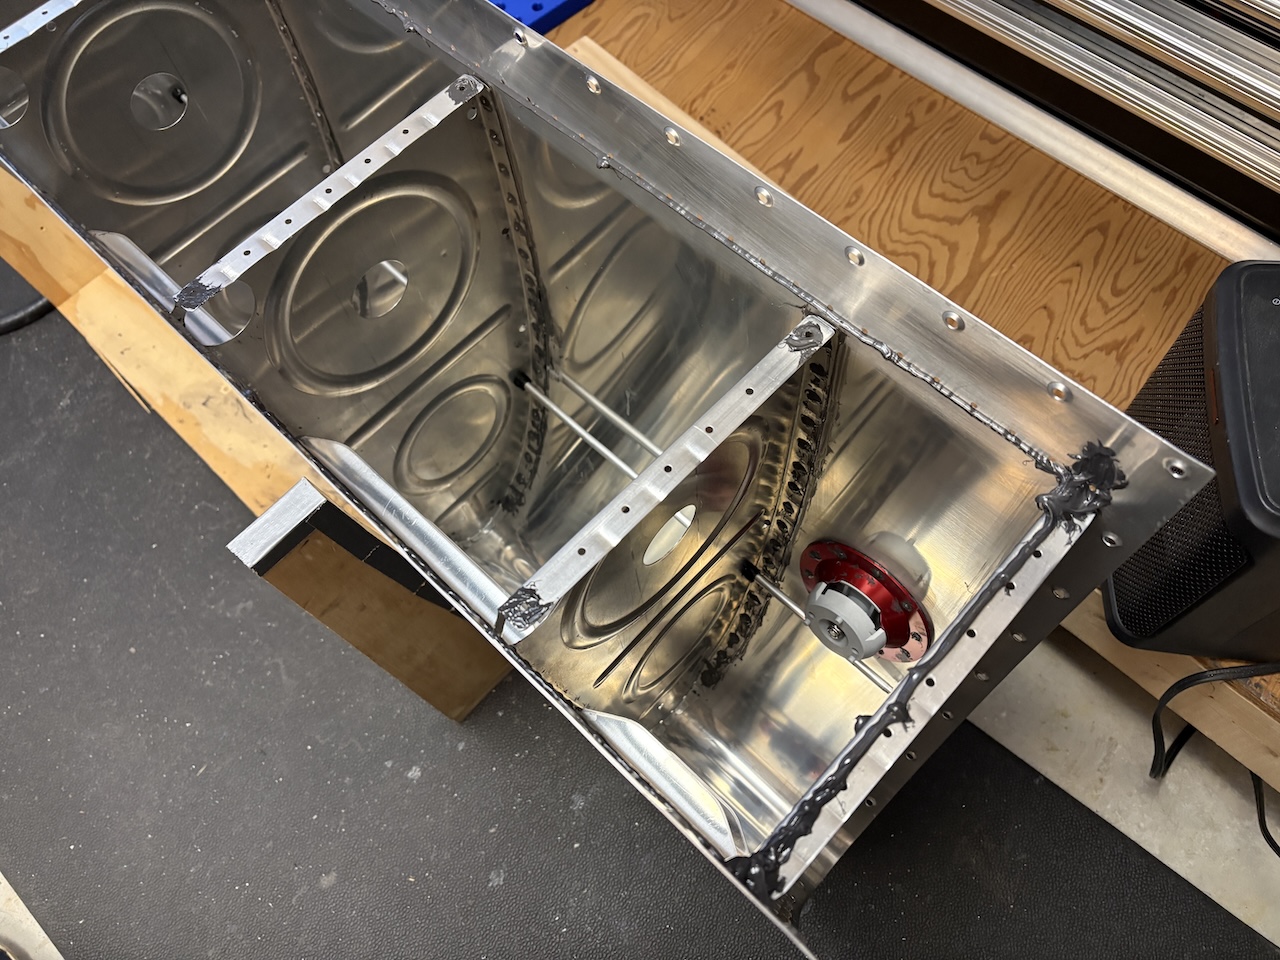
The tank is all ready to go.
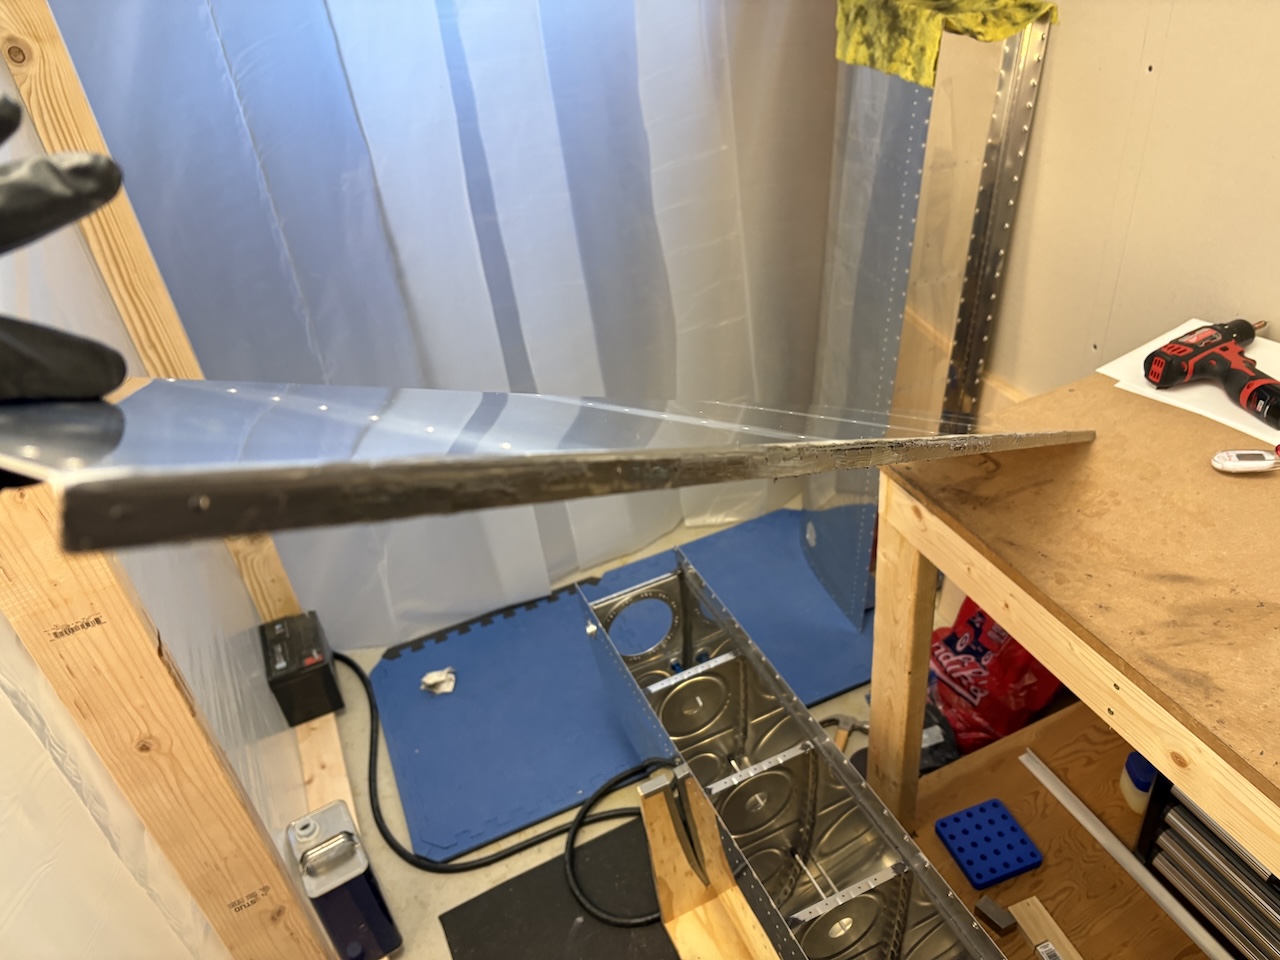
This is a terrible picture, but I am showing how I added some extra sealant to the entire flange of the baffle. I have seen too many people with leaks along the rear baffle and it's a nightmare to deal with. I understand that you don't want too much sealant here as it can change the dimensions of the tank and make it not fit quite right, but leaking is also bad. I added as thin a layer of sealant on the flange as I could and made sure it had good coverage. I figure the nice bead with this extra sealant on the flange will give me the best chance of a leak-free tank.
After all the sealant was laid down, I slid the baffle into tank. It went in smoothly and cleanly and then I clecoed it to the skin and ribs. The first rivets I put in were the blind rivets in the top and bottom holes on the interior rib flanges. Then, I added the rivets to the holes in the skin. These were a huge pain to line up and get inserted but I used my awl to line up each hole and then the rivet slid right in.
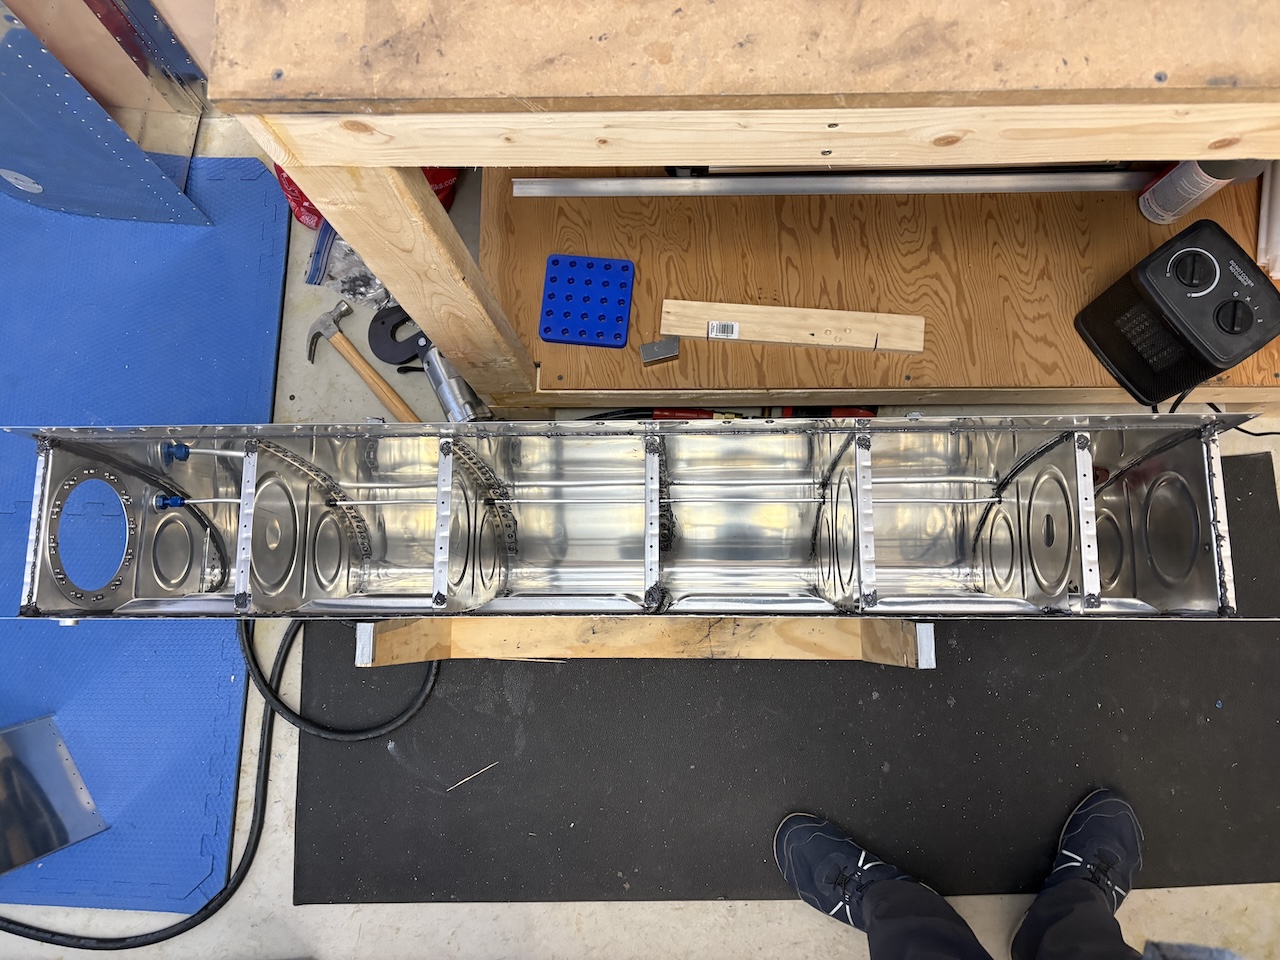
I squeezed all of the skin-to-baffle rivets and that was smooth sailing. There was a tiny bit of sealant that came out from under each rivet so I think they have a really good seal. Then I set the rivets holding on the root and tip Z-brackets with the gun and bucking bar. There isn't much room for the rivet set as the rivet head is very close to the bracket flange, so some of these have some smileys, but they are set nonetheless.
Finally, I made a "wedge tool" and used that to get enough space for the rivet puller to set the blind rivets that hold the interior Z-brackets to the tank. I didn't get any pictures of the end result due to exhaustion but it looks good. I will get some next work session.
The only thing left is to install the access hole cover and fuel sender and then it will be a completed tank, ready for testing (after the sealant cures for a few days...)!