27 Apr 2024 - 6 hours
I jumped back in today after kind of a hectic week with no work on the project. Last time, I got the rear spar riveted together so today I moved onto the HS front spar. I clecoed this together and took it apart again like four times, so that was a bit frustrating. The first time I forgot to put in the HS-00001 doublers so I put them in...in the wrong spots (I switched left and right). Then I saw that I had missed match-drilling four holes from the reinforcement angles through the spars. Finally, the holes that connect HS-00005, HS-00006, and the front spar assembly are explicitly called out in the instructions to be drilled to #40 size, but the plans call out a 470-4 rivet, which is a #30 drill size, so I had to fix those.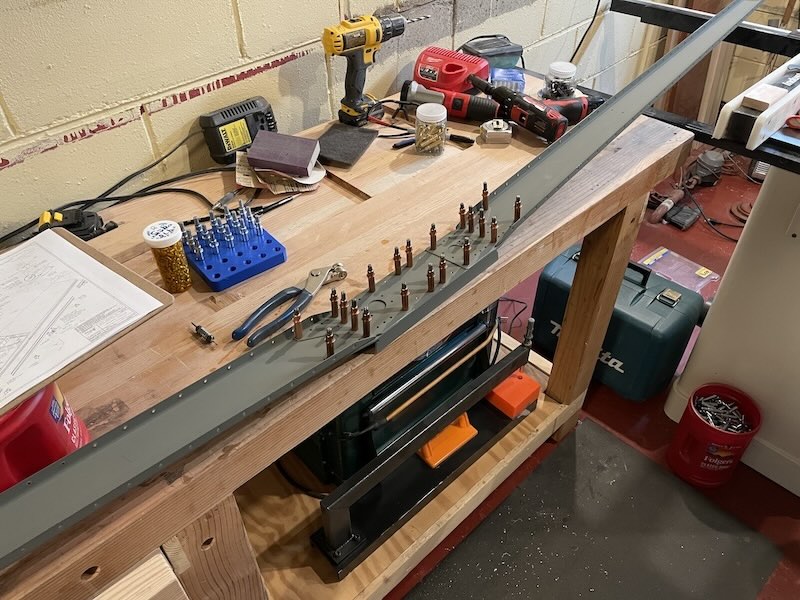
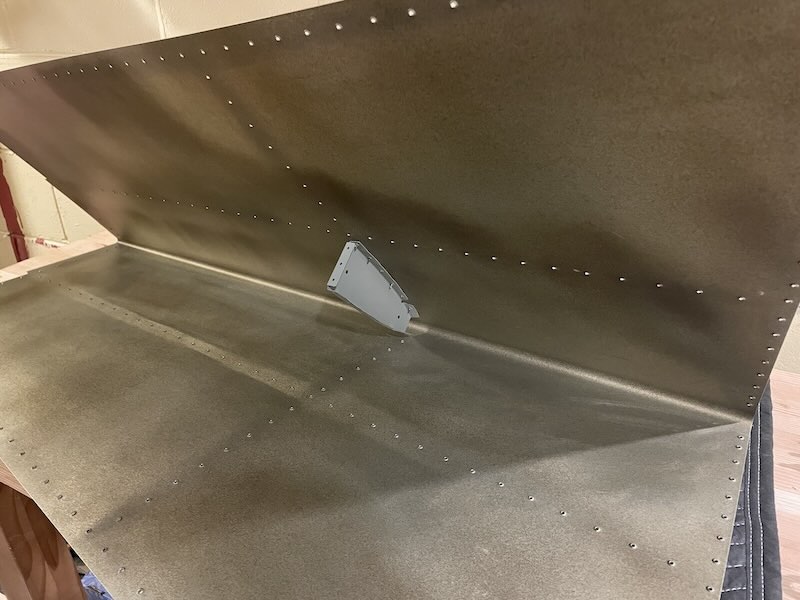
After all that back and forth, I got the front spar assembly and the inboard main and nose ribs riveted together, taking extra care to not fill holes with rivets that either don't get them (the holes that will be enlarged later to attach to the fuselage) or riveted out of order (filling the holes that connect the inboard ribs to the spar)
Here you can see all the HS front spar rivets that I just worked on. I put all the manufactured head of the rivets on the front side. I was able to get all but two rivets with the squeezer, although it took some gymnastics to get around the spar and reinforcement angle flanges. The last two that I couldn't get to I set with the gun and bucking bar. Those were actually the first rivets that I bucked on this project! The four flush rivets right in the middle are the first of those type, as well.
The next step involved putting the skins on, so I first needed to prime those. Last year, I bought one of those mixing/pouring lids for my Sherwin-Williams wash primer. That makes all the difference. It's so easy to mix and pour out just a little bit of primer and it doesn't make a mess! Since I don't have to wait 30 minutes for this primer to start curing, and the HVLP gun is easy to clean by just flushing it with lacquer thinner, spraying this primer is now only slightly more difficult that using the rattly-can self-etching primer, but I think it's much more durable and probably weighs less as it seems like its a thinner coating. I'm pretty impressed with it!
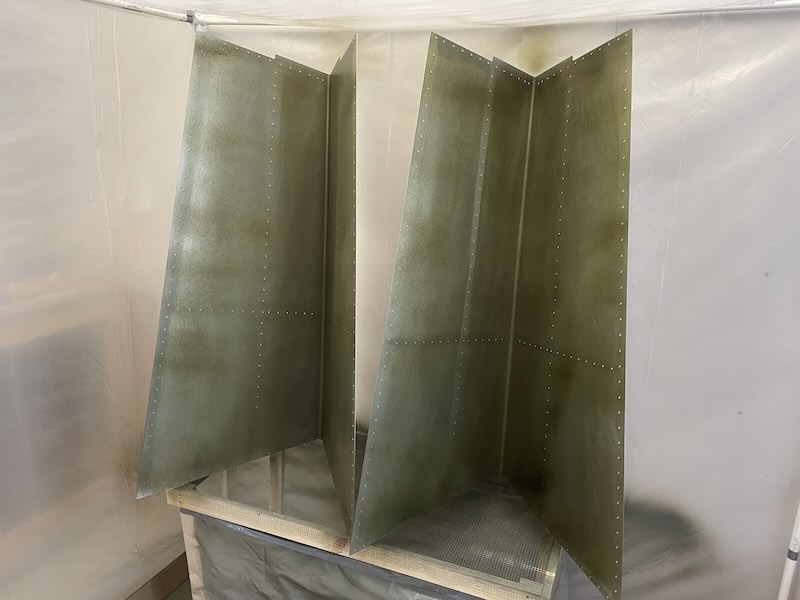
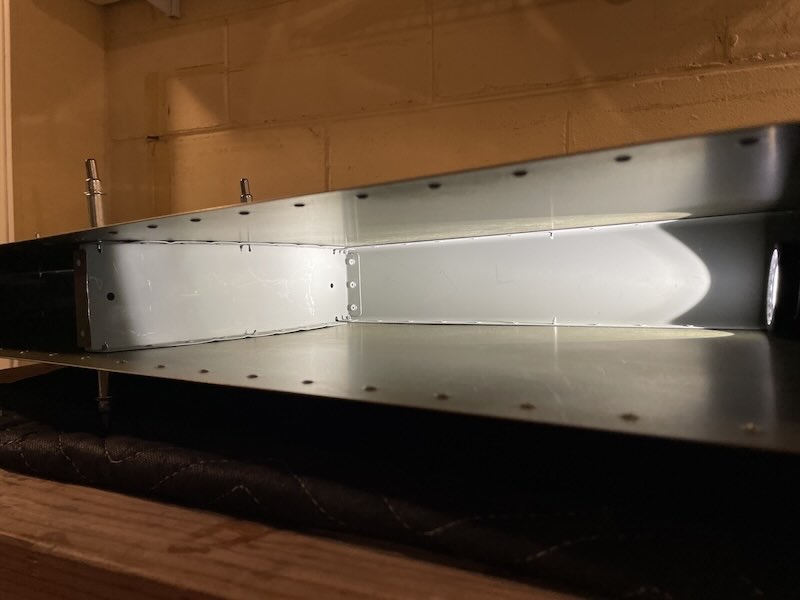
Another bonus of this primer is it dried incredibly quickly! It was humid and 75 degrees and it was completely dry in less than five minutes, including losing its noxious smell! The first step in riveting the HS is getting the middle nose rib attached to the skin. Here is a picture with the first flush rivet set in the second hole from the nose and the nose rib just hanging out. I did from that second hole back toward the spar, then you add the other ribs to close the skin down around the nose rib, and set the rivets on the bottom. The bend is pretty extreme right at the nose, and I struggled getting the skin in good contact with the nose rib flange right at the front. I actually had to drill out a few rivets because I had gaps between the skin and rib. The thing that worked was using an Irwin quick clamp to squeeze the leading edge tight around the nose rib.
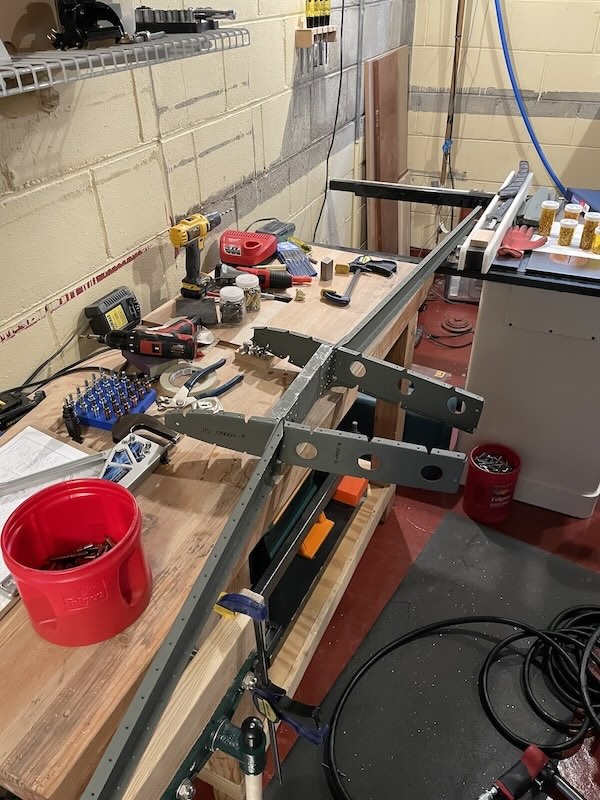
Once all the middle nose rib rivets are set (top and bottom), you add the front spar assembly, and then blind rivet the middle main rib to the front spar to the middle nose rib. These are the first blind rivets I've set on the project. This assembly just got big!
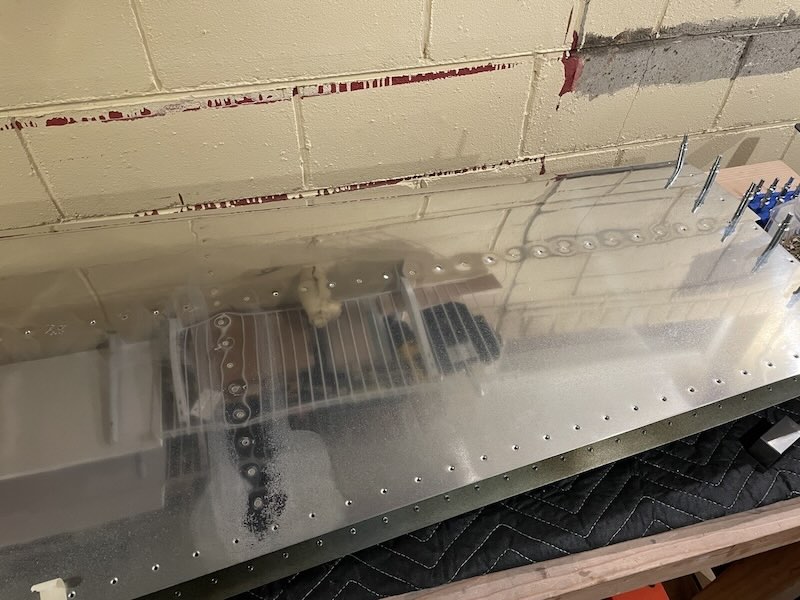
Next, I riveted the main middle rib to the bottom of the skin, then moved on to riveting the front spar to the bottom of the skin. In this picture, I have all the rivets on the bottom of the skin set on the main middle rib, and every other rivet set on front spar. I put a cleco in every other hole first, set the rivets in the empty holes, then removed the clecos and set the other half.
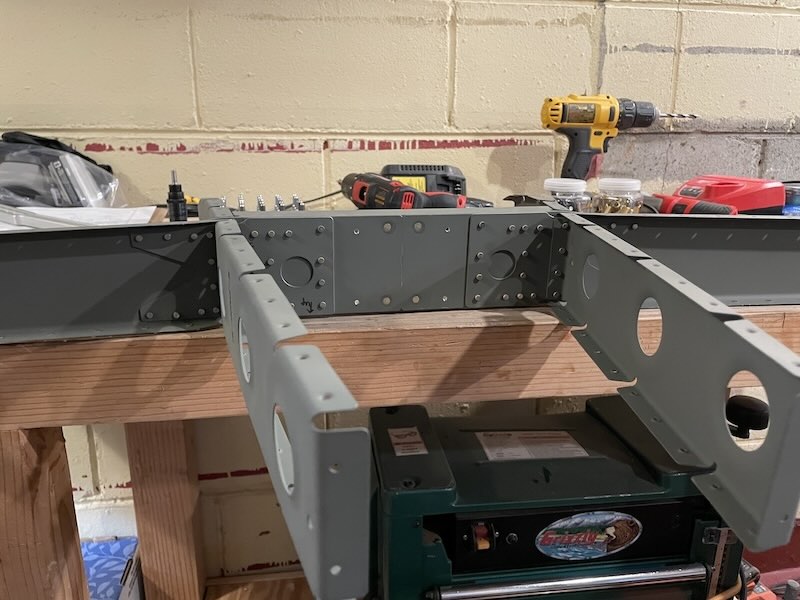
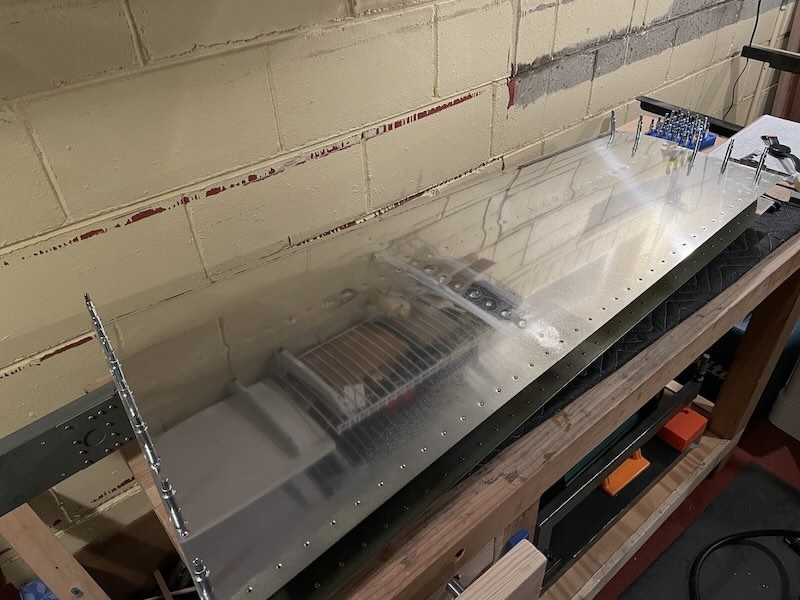
And here we are with all the rivets on the bottom left HS skin set to the middle ribs and front spar. I still need to set all the rivets in the top of this skin. I expect this to go quicker now that I have a few rivets under my belt. It's been about 12 years since I used a rivet gun and bucking bar to set rivets like this but it came back pretty quickly! The inboard and outboard ribs as well as the rear spar can all be set with a rivet squeezer so I have that to look forward to.
I have to repeat all these steps for the right side skin but I'm getting more comfortable with the skills required, and I won't struggle to get things lined up and clamped as I did that on the left side and know what to do and what not to do. In the morning, I am picking up a pneumatic rivet squeezer and a DRDT-2 dimpler so I'm pumped to get those bad boys!