6 Oct 2024 - 4 hours
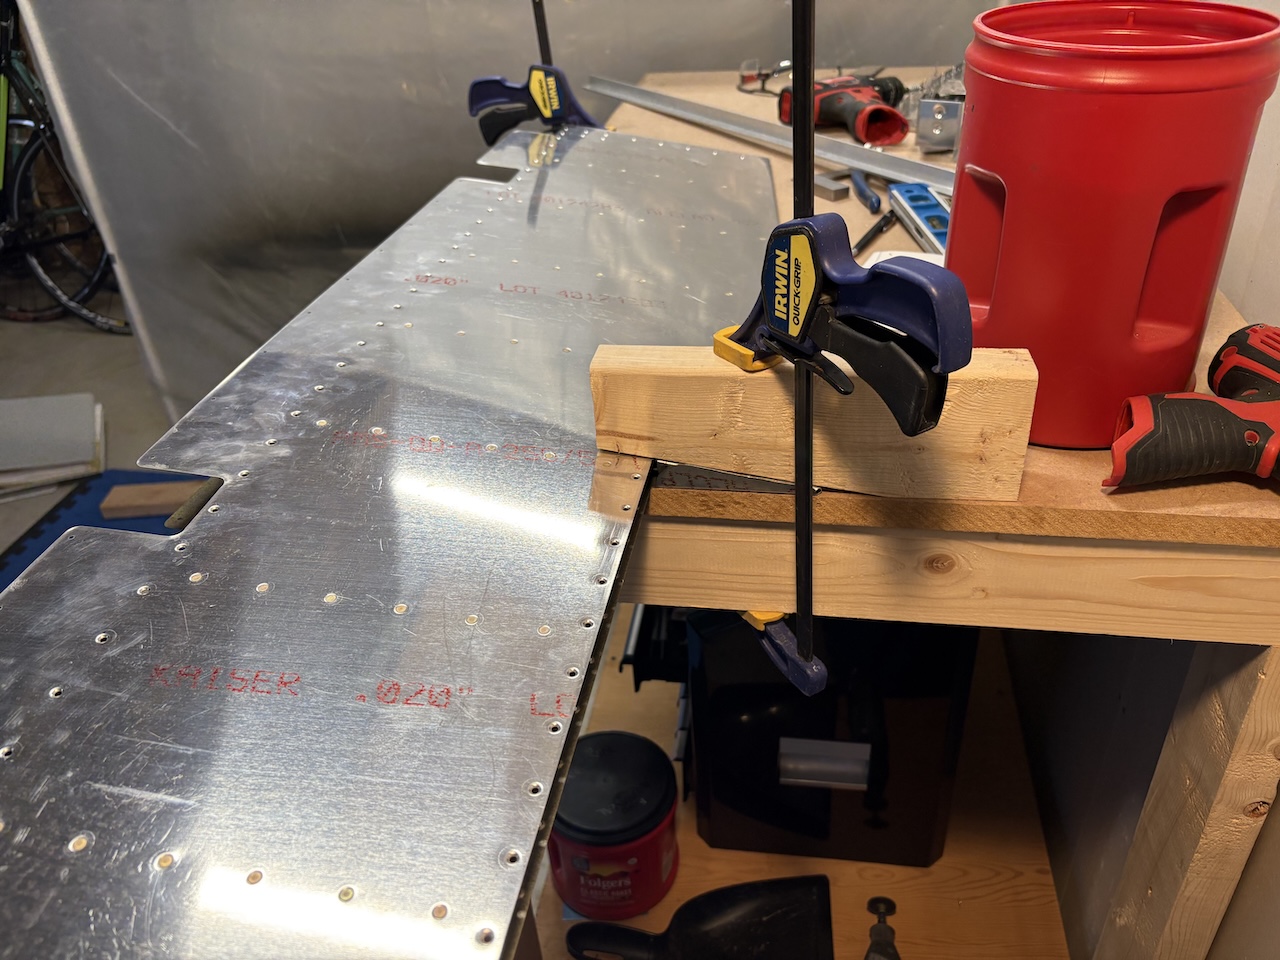
There has been a depressingly low amount of work on the plane the past few months but I am working to change that! I did finish dimpling the elevator ribs where they get narrow down at the end and also finessed the trailing edge bends.Next, I needed to bend the tabs that will make up the rib where there is the cutout in the left elevator for the trim tab. This is notoriously fickle, and I did my best to make a bending jig with appropriately angled wood bending forms. I double-sided taped them in place and then clamped them to the workbench and started folding the tabs down. The first bend went ok, with the bending form sliding a small but expected amount, but when I tried to fold down the top tab, I couldn't keep it from moving no matter what I did and that caused the second bend to be just awful. In the end, I cut the tabs off and will make a "riblet" to go in there, just like I did in the RV-8 tail.
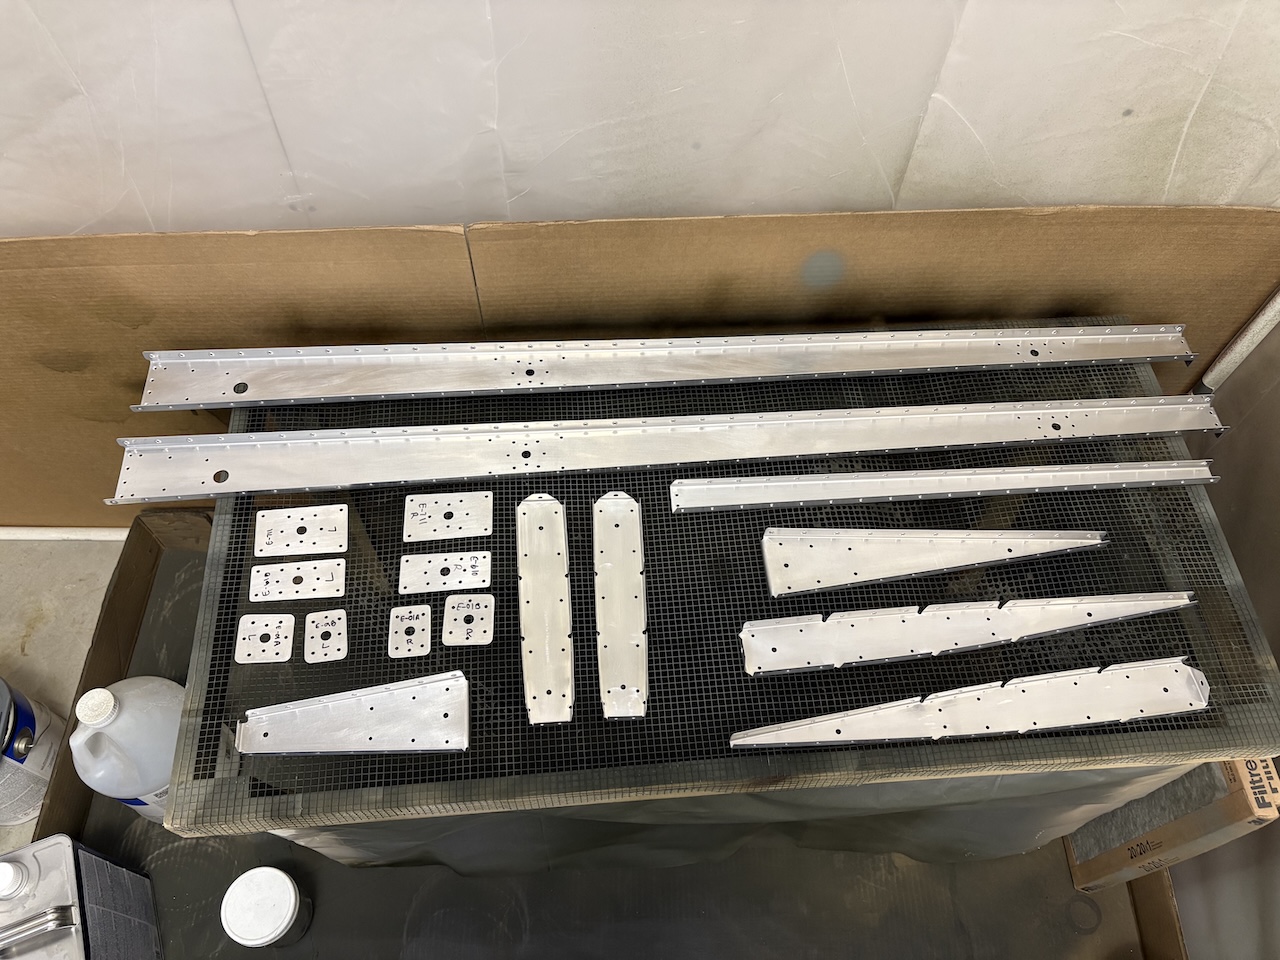
I quickly moved on to cleaning and priming all the elevator parts. Here they are laid out ready for priming. I finally figured out that I need to have the gun very close to the parts to prime them, like 3-4 inches away. Otherwise, the primer collects into droplets and hardens in the air on the way to the part and gets these horrible bumpy and spotty coverage (as you can see in the following pictures).
Once the primer dried, I started riveting the right elevator skeleton. It's always exciting to see parts go together, and it's so quick compared to the hours of work that it took to get to that point!
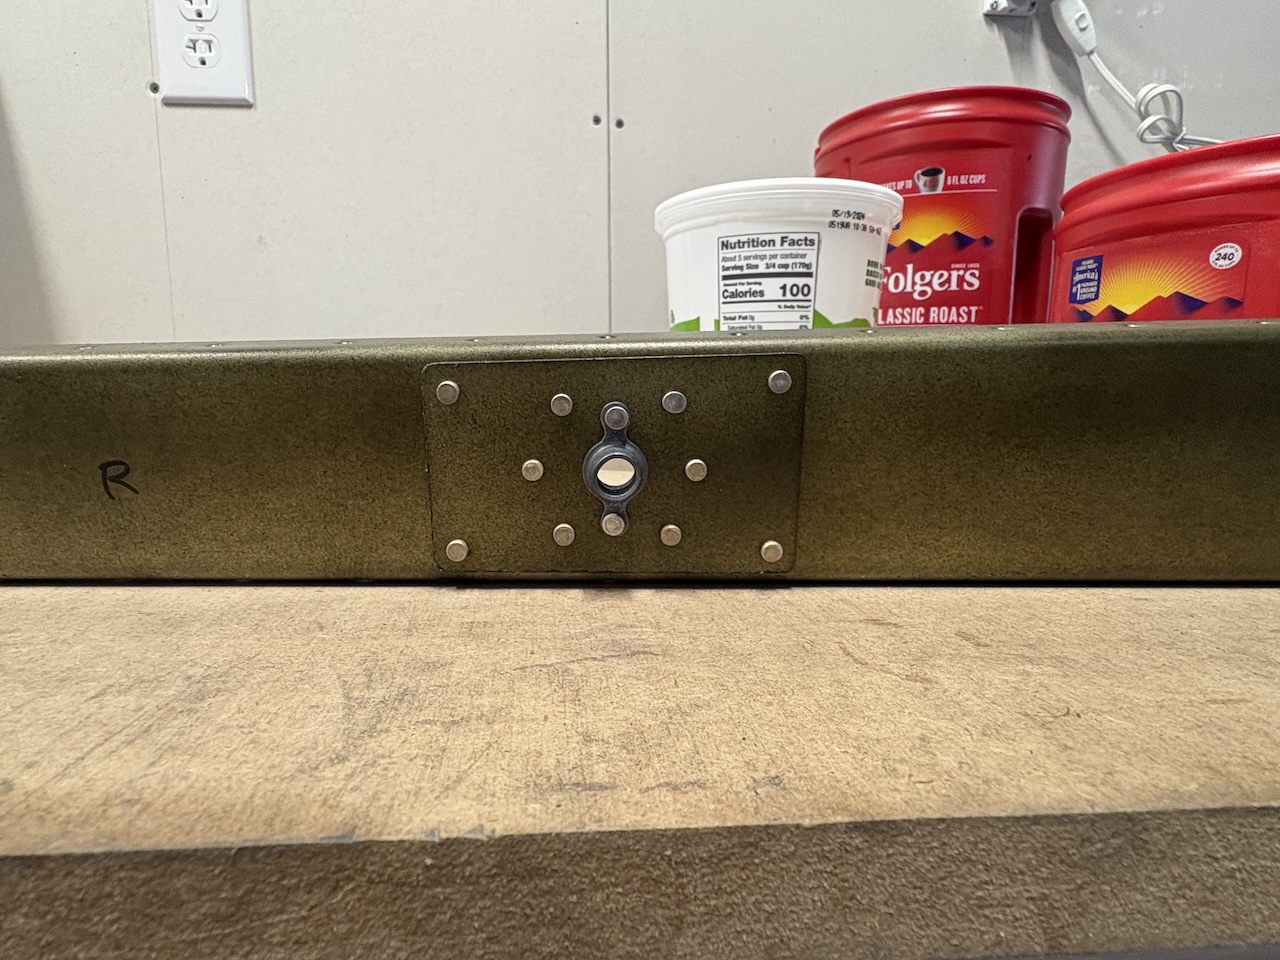
Inside the root of the elevator where the control horn attaches.
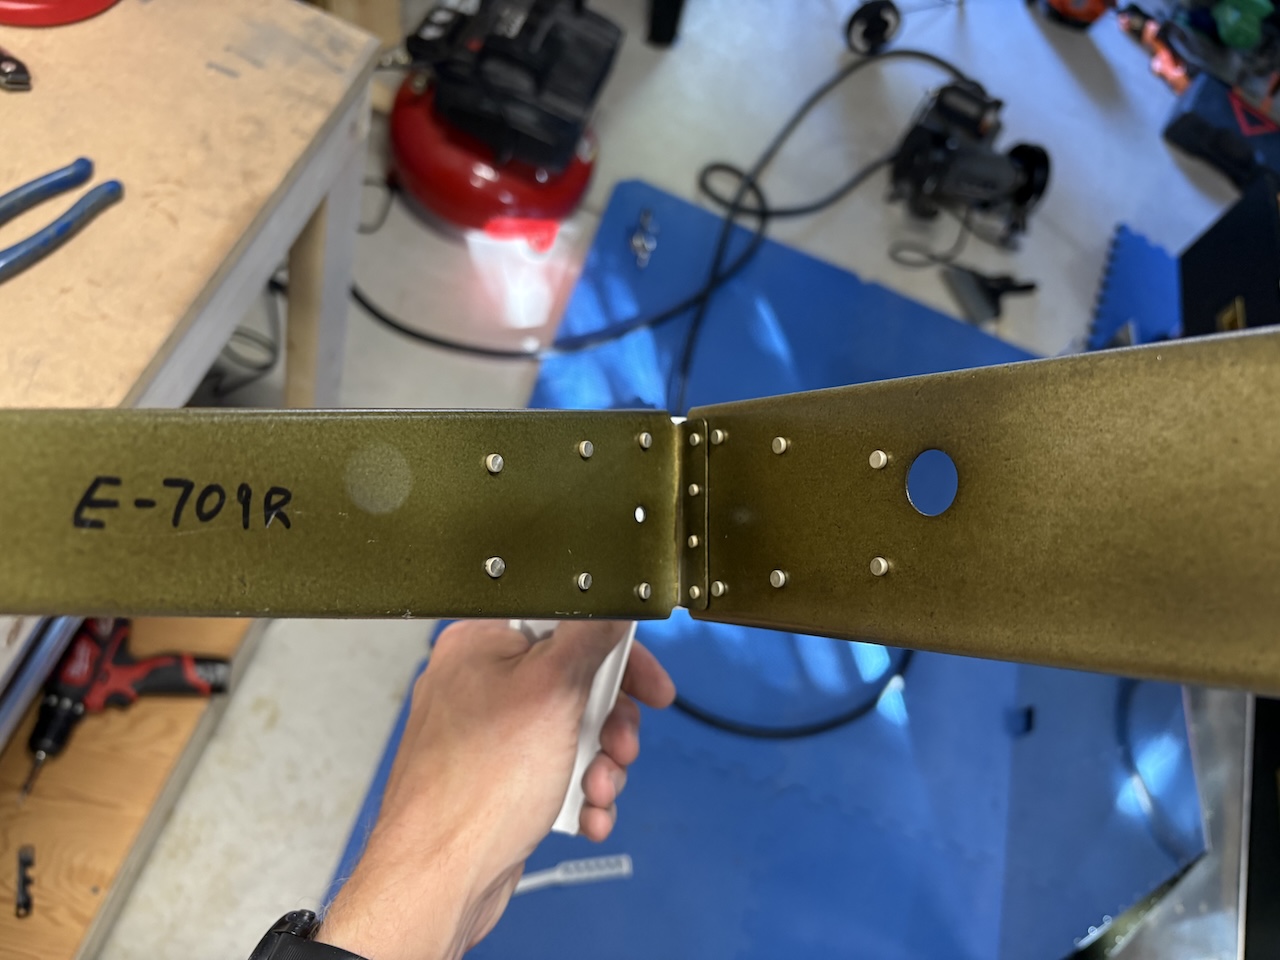
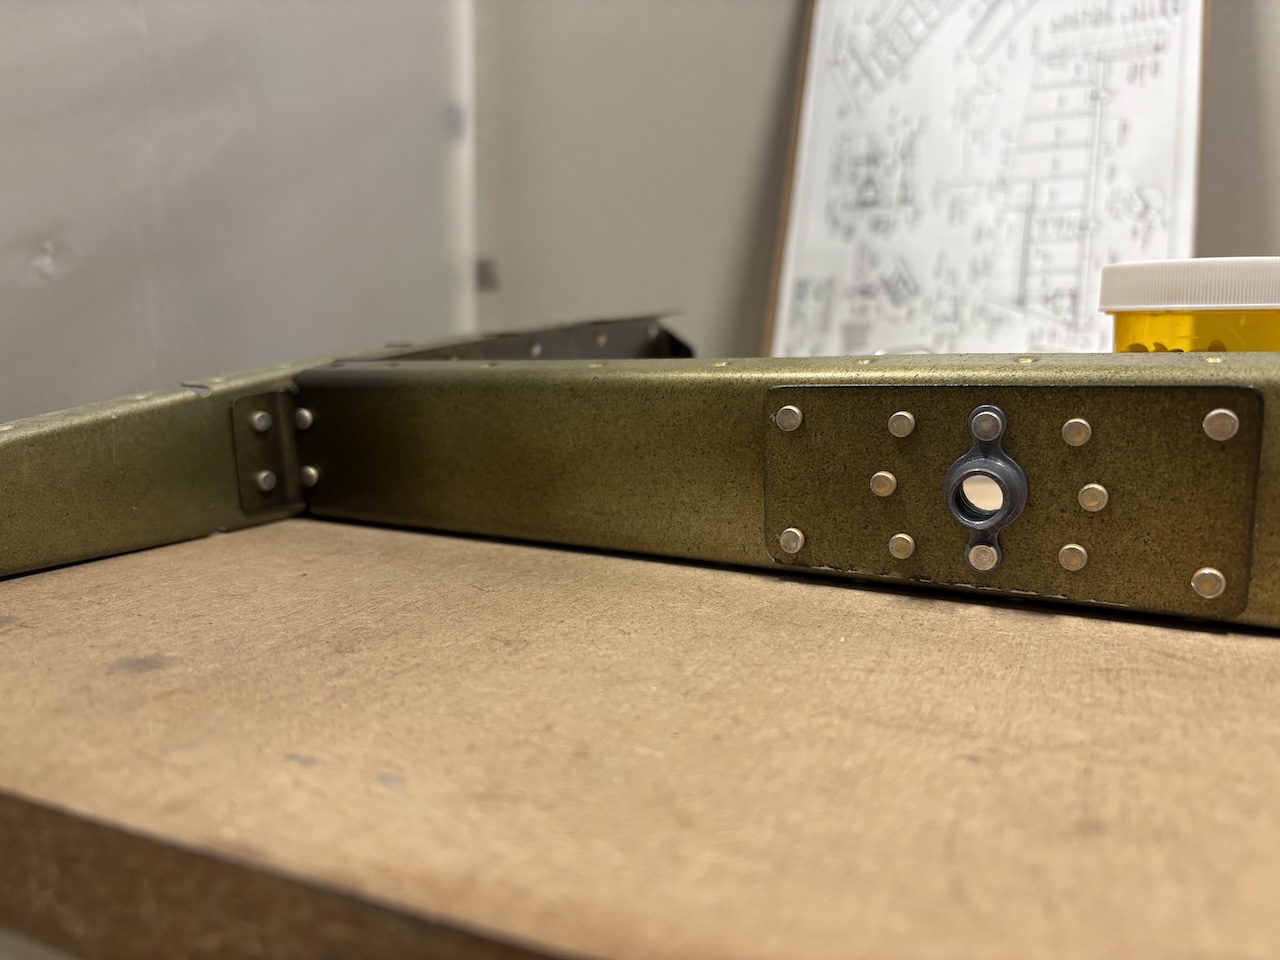
Middle attach point reinforcement plates riveted in.
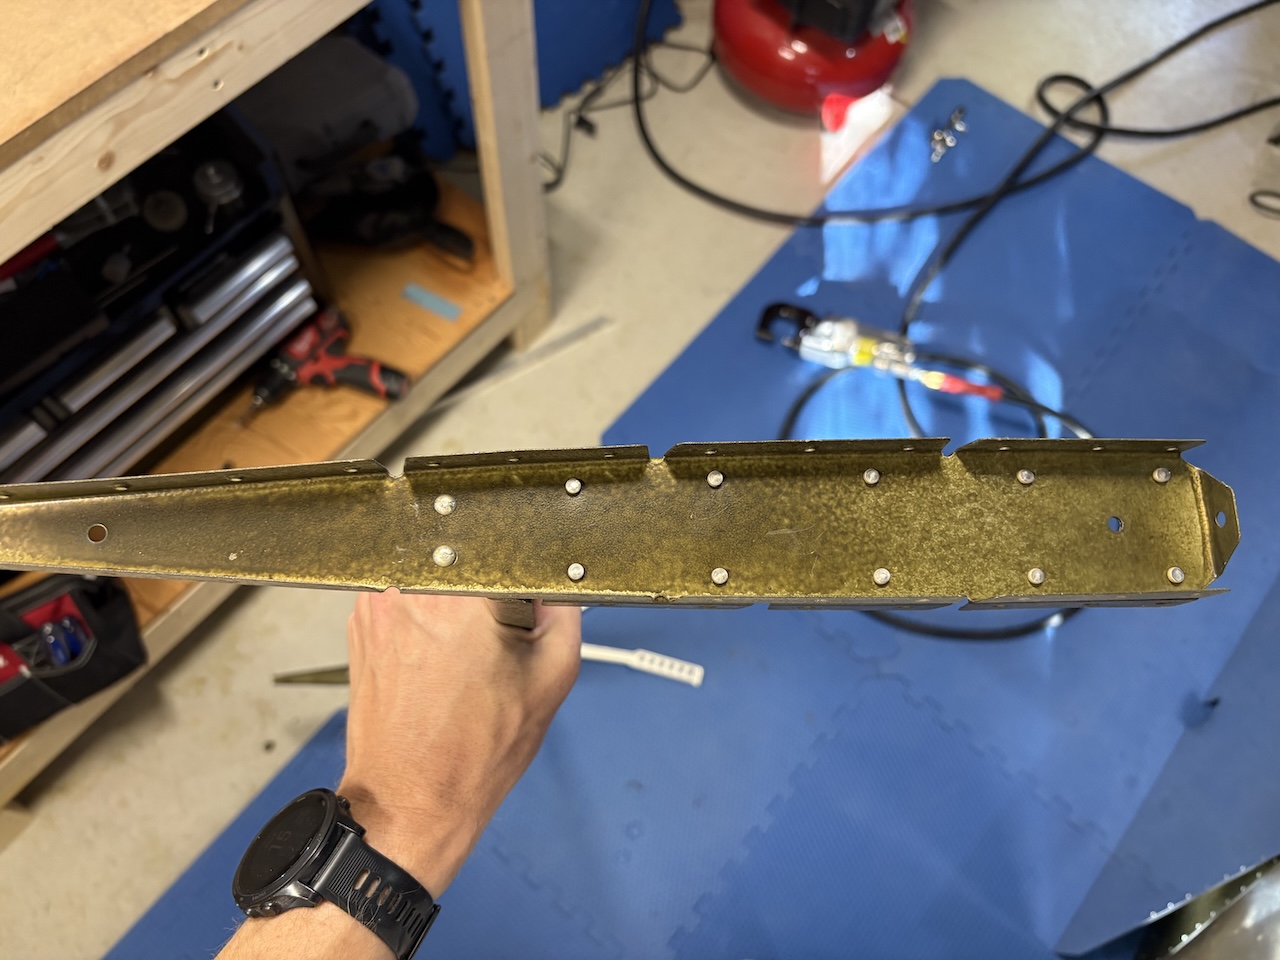
Tip attach point reinforcement plates riveted in. Also you can see the tip ribs riveted to the spar.
Tip and counterbalance ribs riveted together.
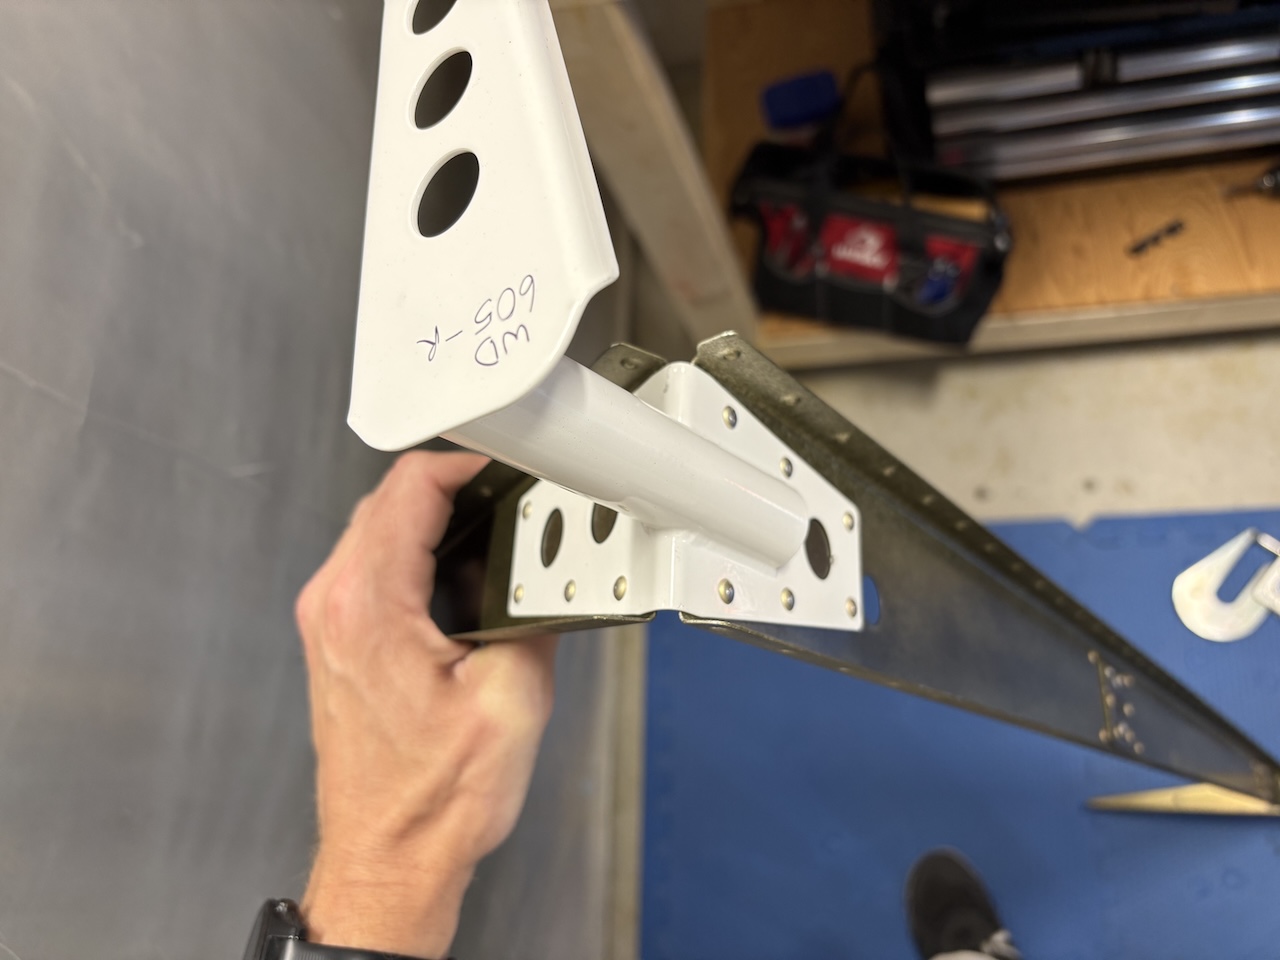
Outside shot of the control horn.
Finally got to make some actual progress on the project which felt good. Some of these rivets were a touch awkward to reach but having figured it, the left elevator should go quicker.