12 Oct 2024 - 4 hours
I finally got to a point where I could do some permanent assembly! I started by squeezing the two rivets on each side that connect the elevator skin to the counterbalance skin. You do these first so you don't have to use pop rivets as these will be 'inside' the elevator behind the spar and ribs.
Then, I trimmed the elevator counterweight a bit. It comes heavier than needed for the right side as there isn't a trim tab and associated hardware like on the left side that it needs to counteract. I used the bandsaw for this and it took about 20 seconds, followed by some light filing to round the inner corner. I remember when I did this for the 8 kit, I just used a big file to gnaw away the extra weight and it took literal hours. This was much nicer, to say the least.

I added some black RTB to the inner fold of the elevator skin right where the tips of the stiffeners are. Supposedly, this can help alleviate fatigue cracks by lessening vibrations.

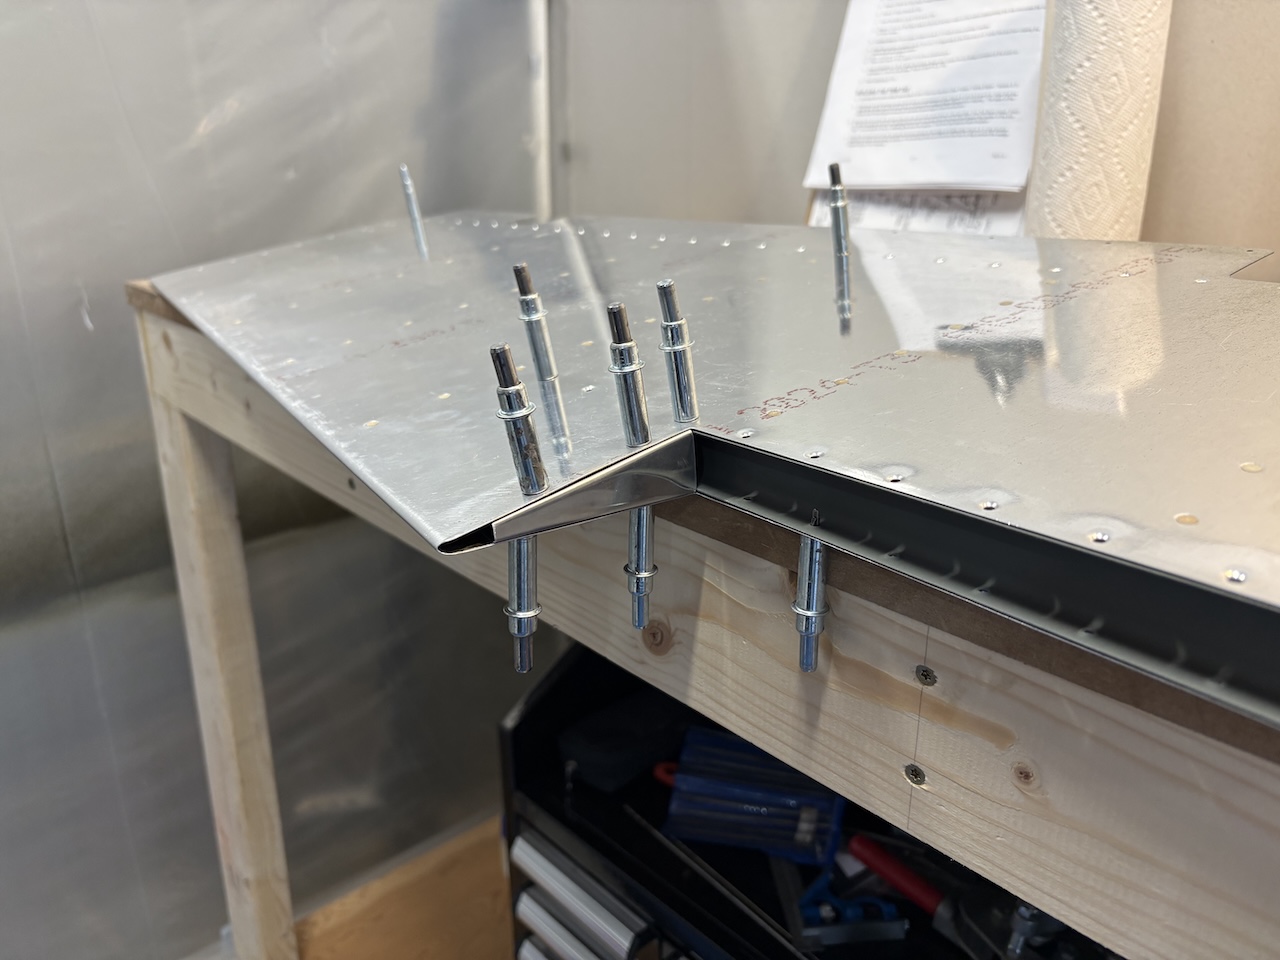
I closed it up for the final time...
And riveted it together! The pneumatic squeezer makes this so easy and all the rivets where able to be squeezed, including the final rivets closest to the trailing edge where I switched to the no-hole yoke, which has a thin nose.
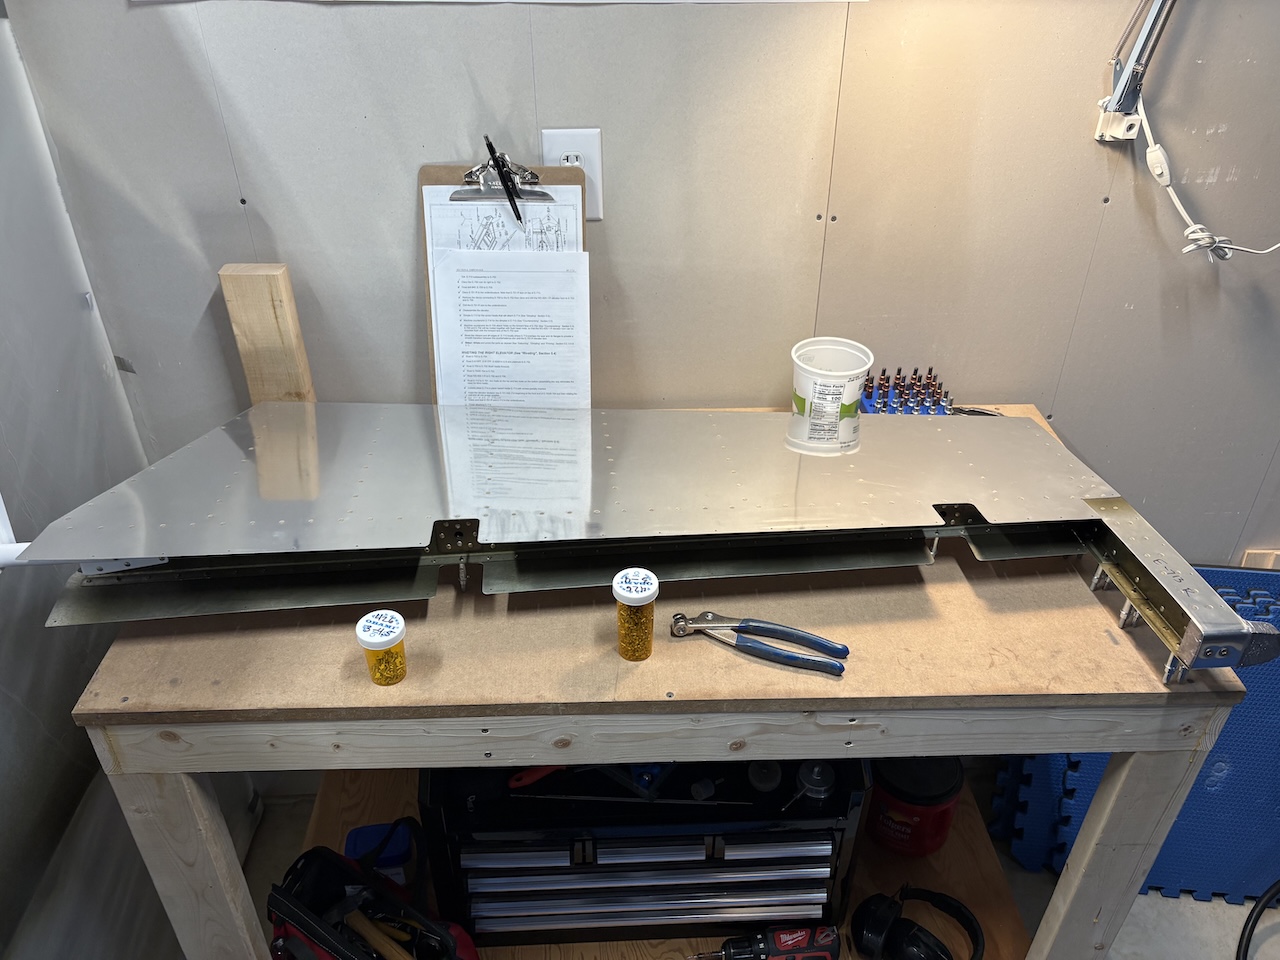
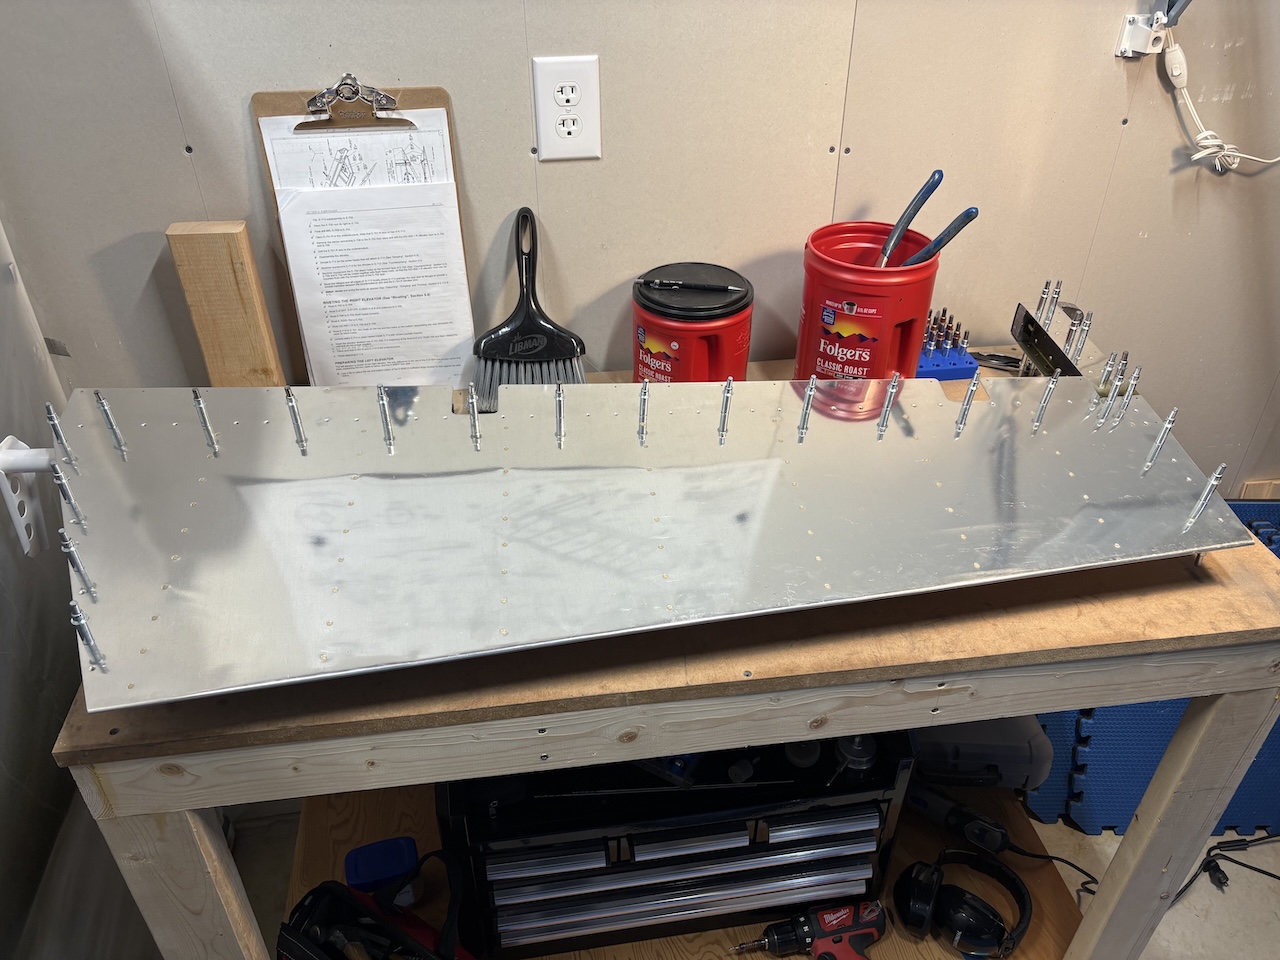
I was feeling good and had some more time so I kept going and moved to the left elevator. I tried and failed to bend the tabs so I needed to make a 'riblet' to fill the gap. I was not efficient in making this from scratch but I think it turned out really nice! I just used the hand seamers to bend the rib from flat sheet stock following lines that I traced from the shape of the elevator. It's dimpled, primed, and ready to install when I close up the left elevator!