27 Dec 2024 - 2.5 hours
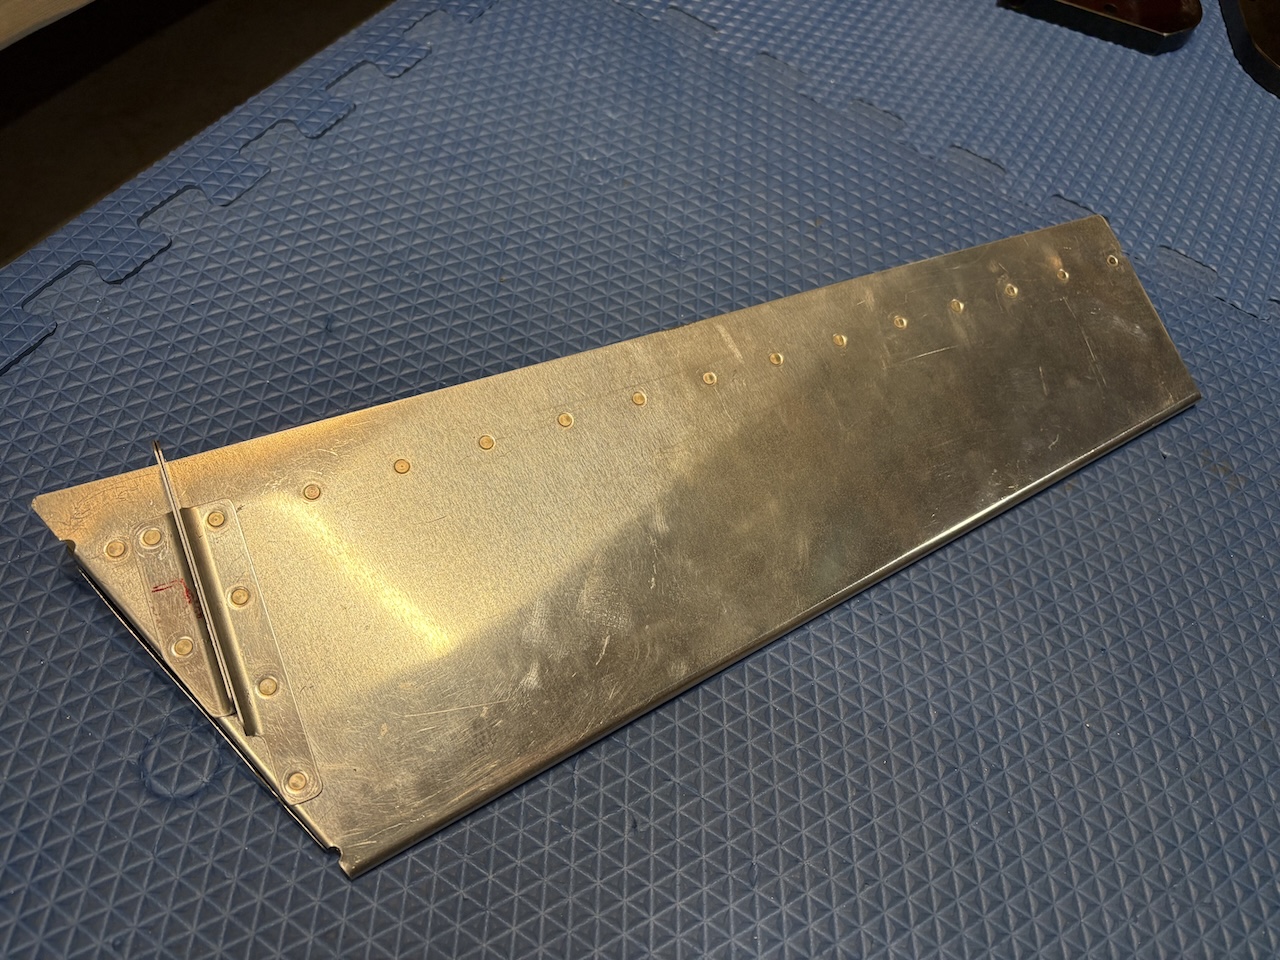
I continued working on the trim tab today. I did a quick dimpling of the skin and the trim cable brackets as I did the spar last session when I bent the trim tab ends. It was warm for the time of year (45 degrees) but still cold for priming, so I just sprayed some self-etching primer from a can after scrubbing the parts. I then let them dry for a bit in front of a space heater to help them cure a bit.I set the rivets on the bottom of the trim tab spar to the skin and cable brackets. This part, for being so small, if full of difficulties as its kind of a weird shape and the small size makes it hard to get tools in there. I got the rivets all squeezed using mostly the longeron yoke with the deep reach go over the spar and hit the rivets. Here is the bottom of the tab with all the rivets set.

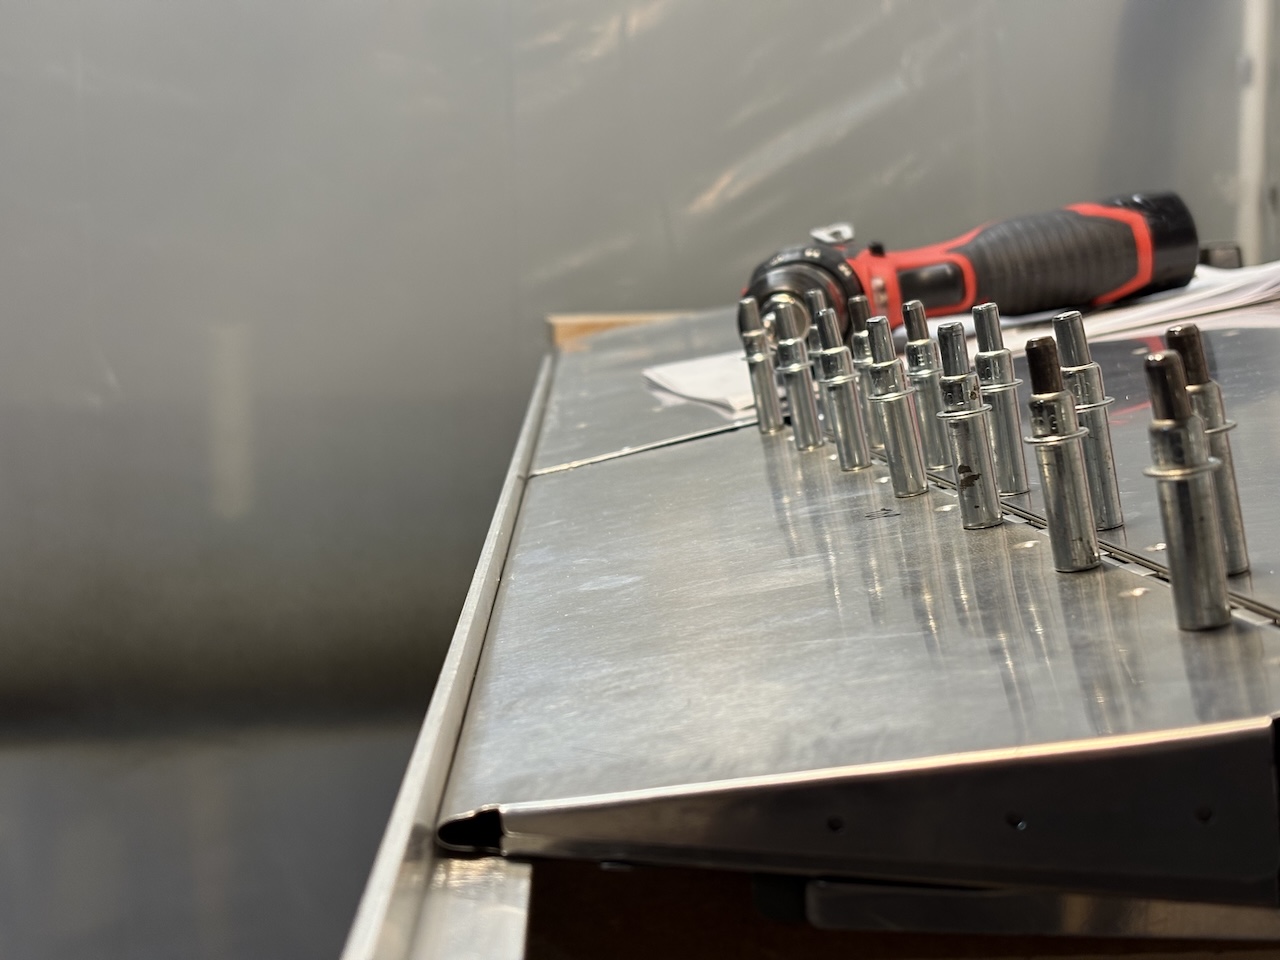
I continued with drilling the trim tab hinge. I drilled the tab side of the hinge previously, but now needed to get the elevator side drilled. This is finicky as there isn't a good way to clamp things in place and it needs to be precise so that the trailing edge of the trim tab is in line with trailing edge of the elevator and also has a minimum of 3/32" gap between the outboard edge of the trim tab and the inboard edge of the elevator.
I just worked slowly to get everything in line and used an aluminum angle to ensure the trailing edges aligned. I drilled one hole in the outboard most hole of the elevator half of the hinge. Then I adjusted the tab to be in the correct position, clamped the inboard edge of the hinge, then pulled the hinge pin out so that the elevator half of the hinge was left in place. Then lots of clamps as I worked my way to the inboard edge match drilling through the elevator.
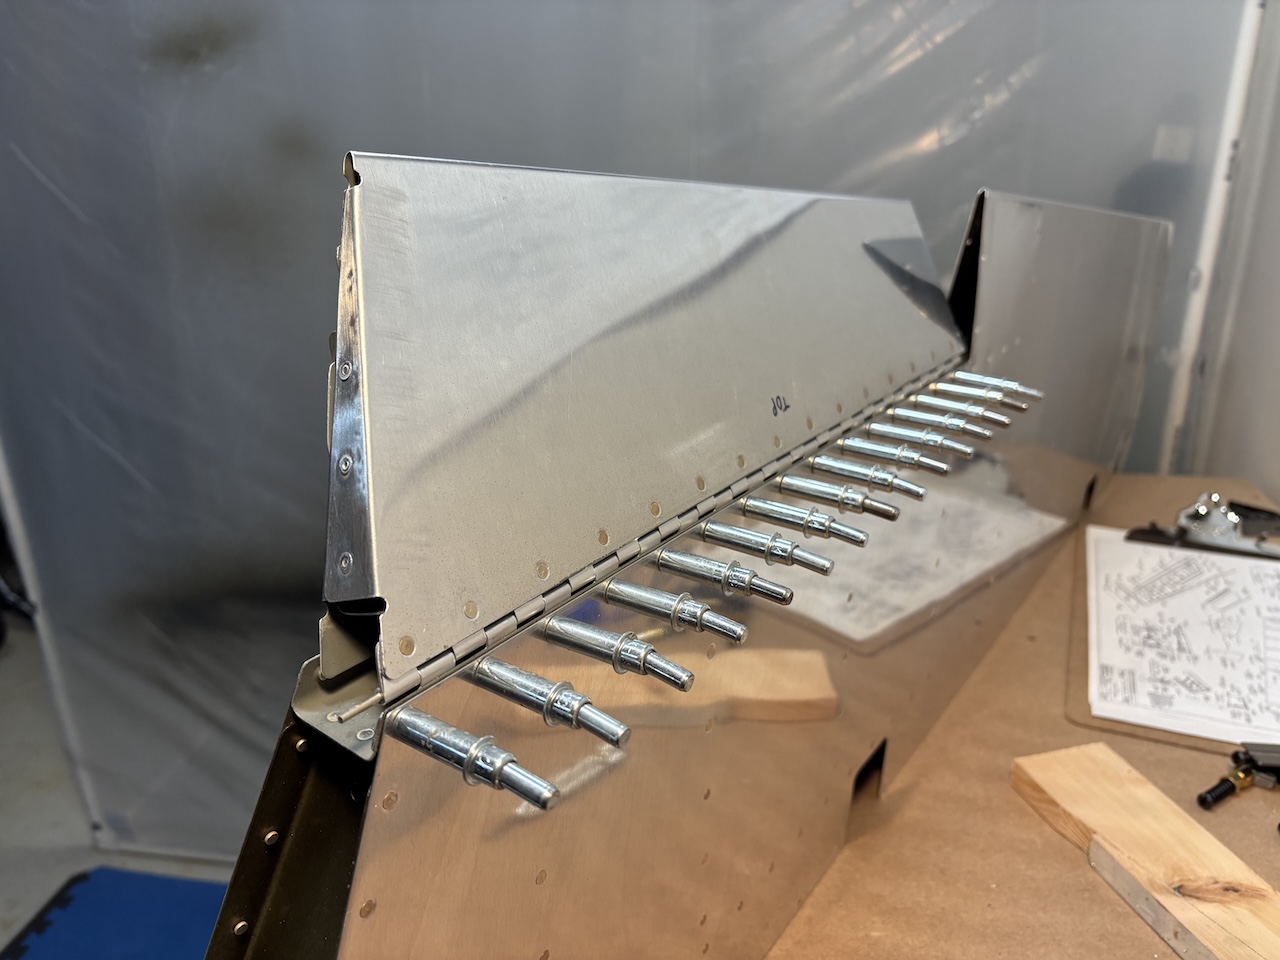
Here, all the hinge holes have been drilled and I'm test fitting the tab. It aligns very nicely along the trailing edge.

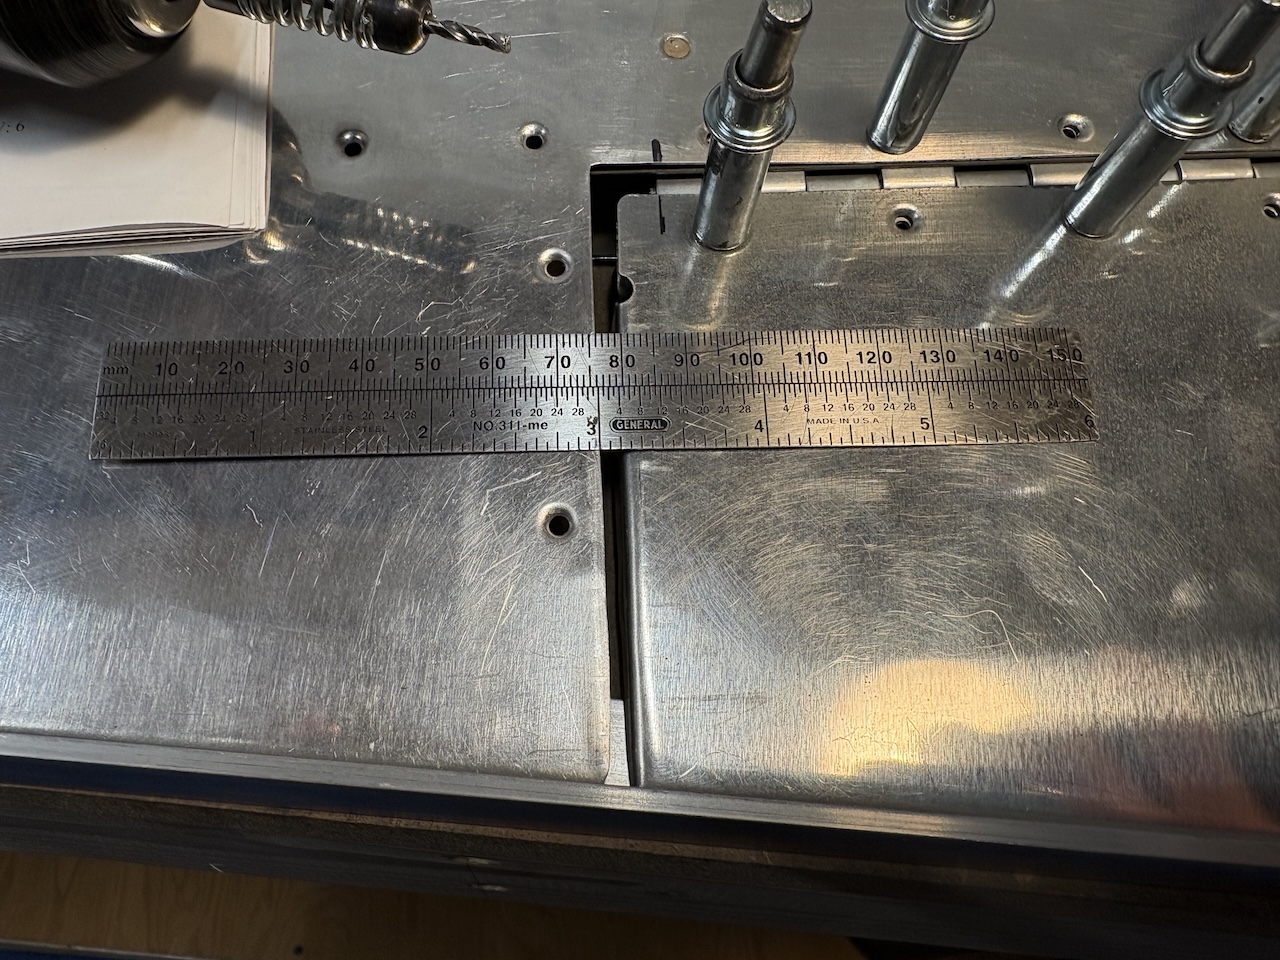
The gap between the elevator and trim tab also came out very nicely. I aimed for 4/32" to give a bit of wiggle room to work around the 3/32" minimum specification.

Finally, I set the rivets on the top of the trim tab. While doing so, I bent a few of the hinge eyes out of alignment so that took some fixing but I got it back in line and the tab moves freely and more importantly is twist free and in alignment with the rest of the elevator!
I also set the pulled rivets that close out the folded ends of the trim tab. I am so pleased with how this whole part has come out!
Next on the agenda will be to rivet the elevator half of the hinge, and do the riblet on the elevator and then the empennage kit will be mostly complete!
