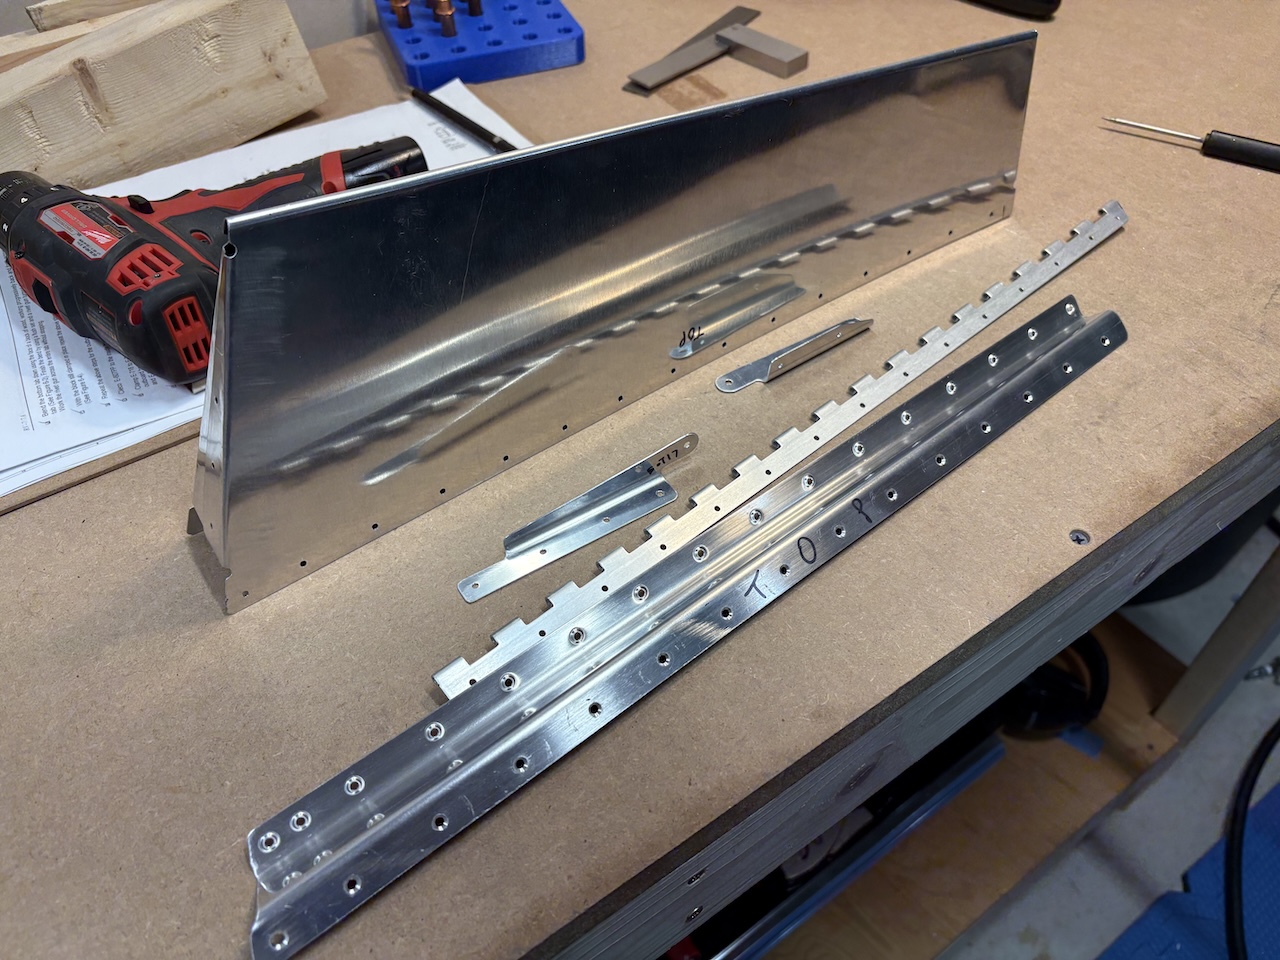
27 Oct 2024 - 6 hours
Big day of work today with lots of progress!I started by working on the mount for the trim tab servo. This gets nestled tightly onto the cover panel itself in the bottom of the left elevator. The line marked on the photo below is where the instructions tell you to place the inside edge of the bracket, but nudging it over ~3/16" centers the mechanism up in the cutout slot.
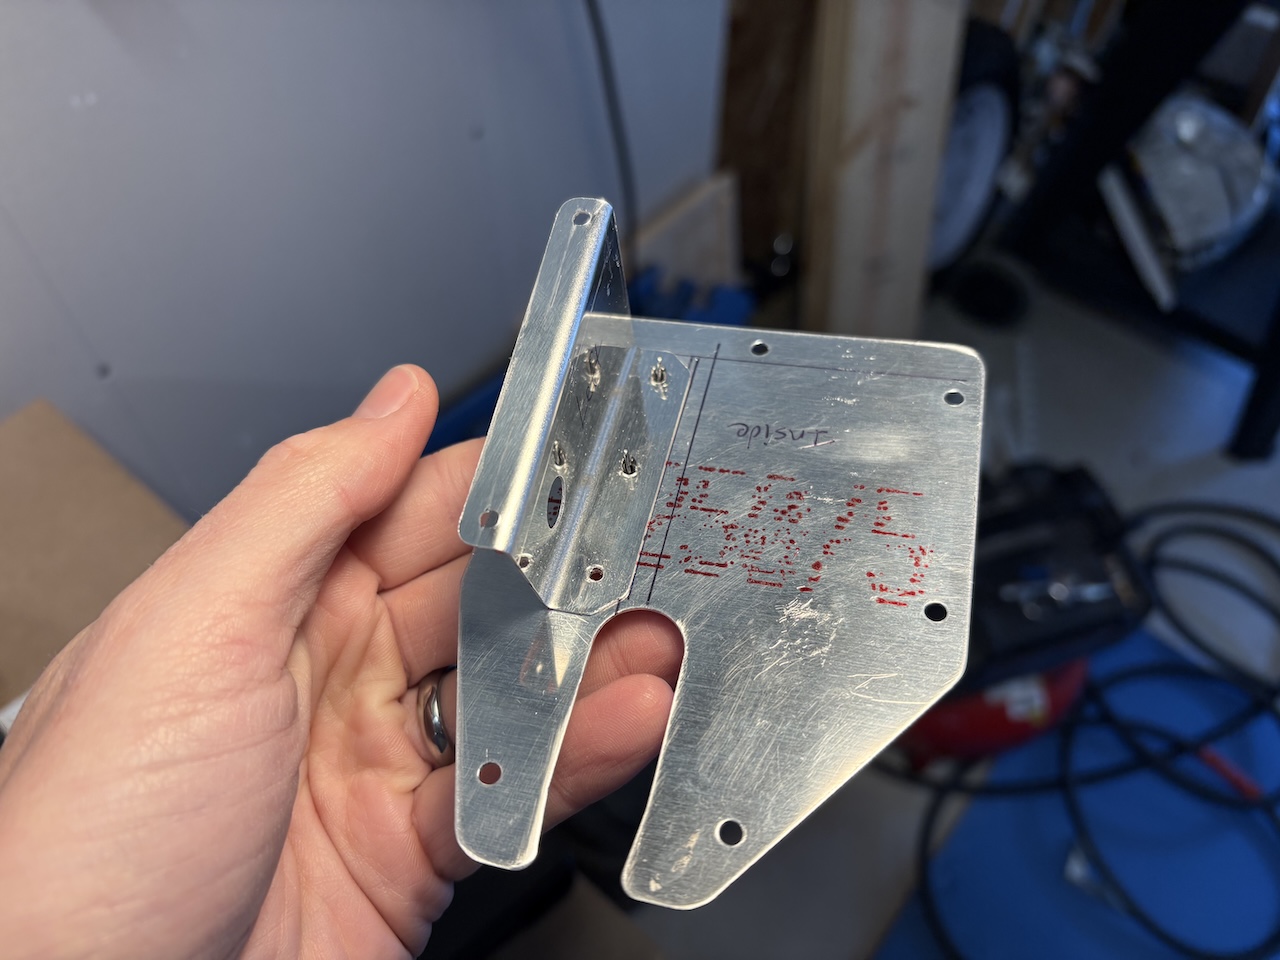
Here both brackets are drilled to the cover panel and the motor is clecoed in place. Notice how connection point sticking out of the motor is centered in the cutout.
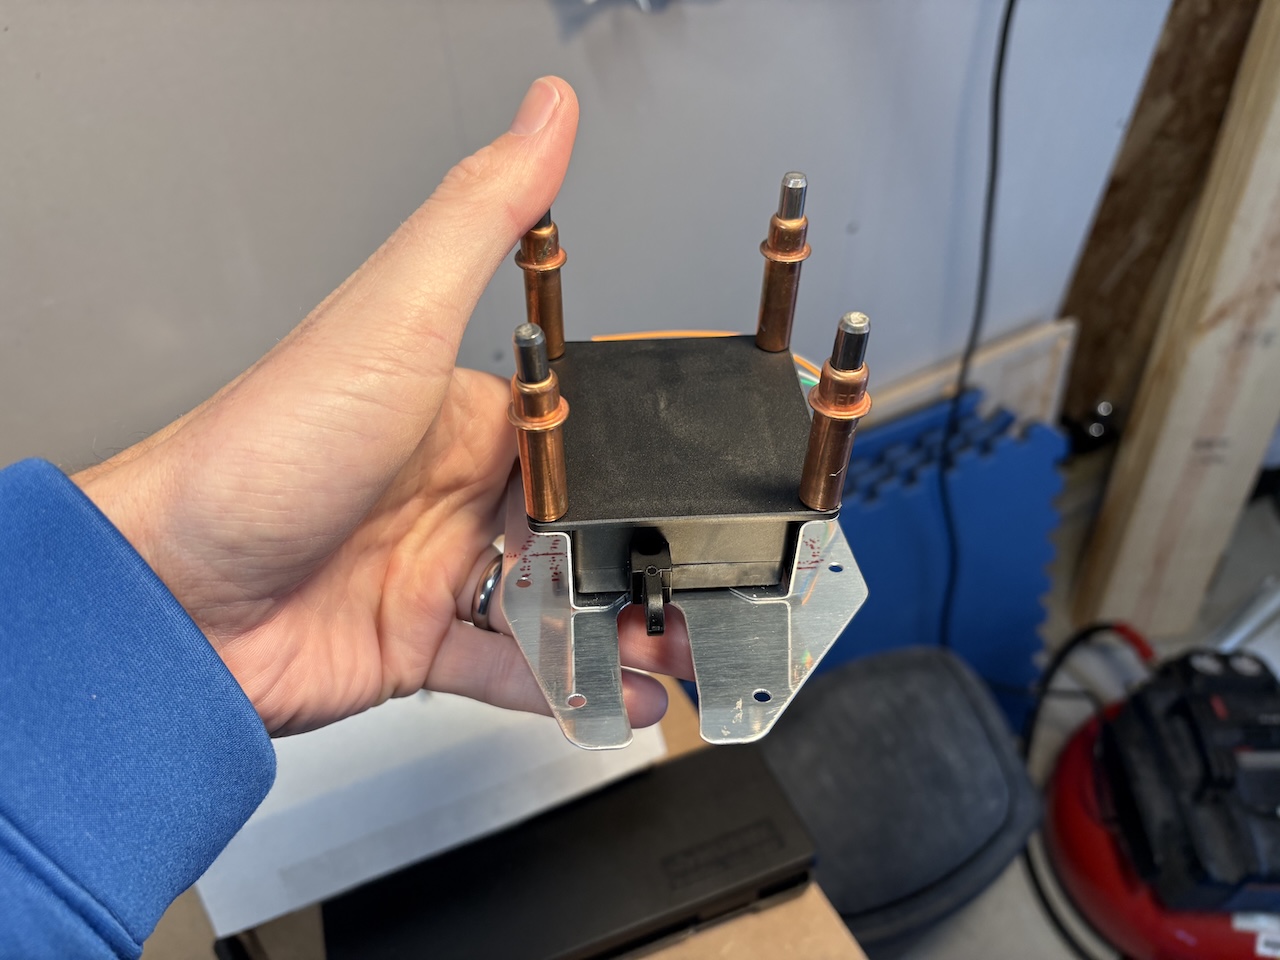
I did a quick scrub and prime on the brackets and then riveted them to the cover panel. The aft rivet on each bracket was countersunk as there isn't enough space between the trim motor and the cover panel to fit a dimple and rivet head. (Note the close clearance in the previous picture)
Installed! I had to grind off the edges of the nut plates that extended out into the opening as it's a tight squeeze to get the trim motor in the opening. I also had to hook the motor up to my bench power supply to reposition the trim motor arm so it could fit in the hole.
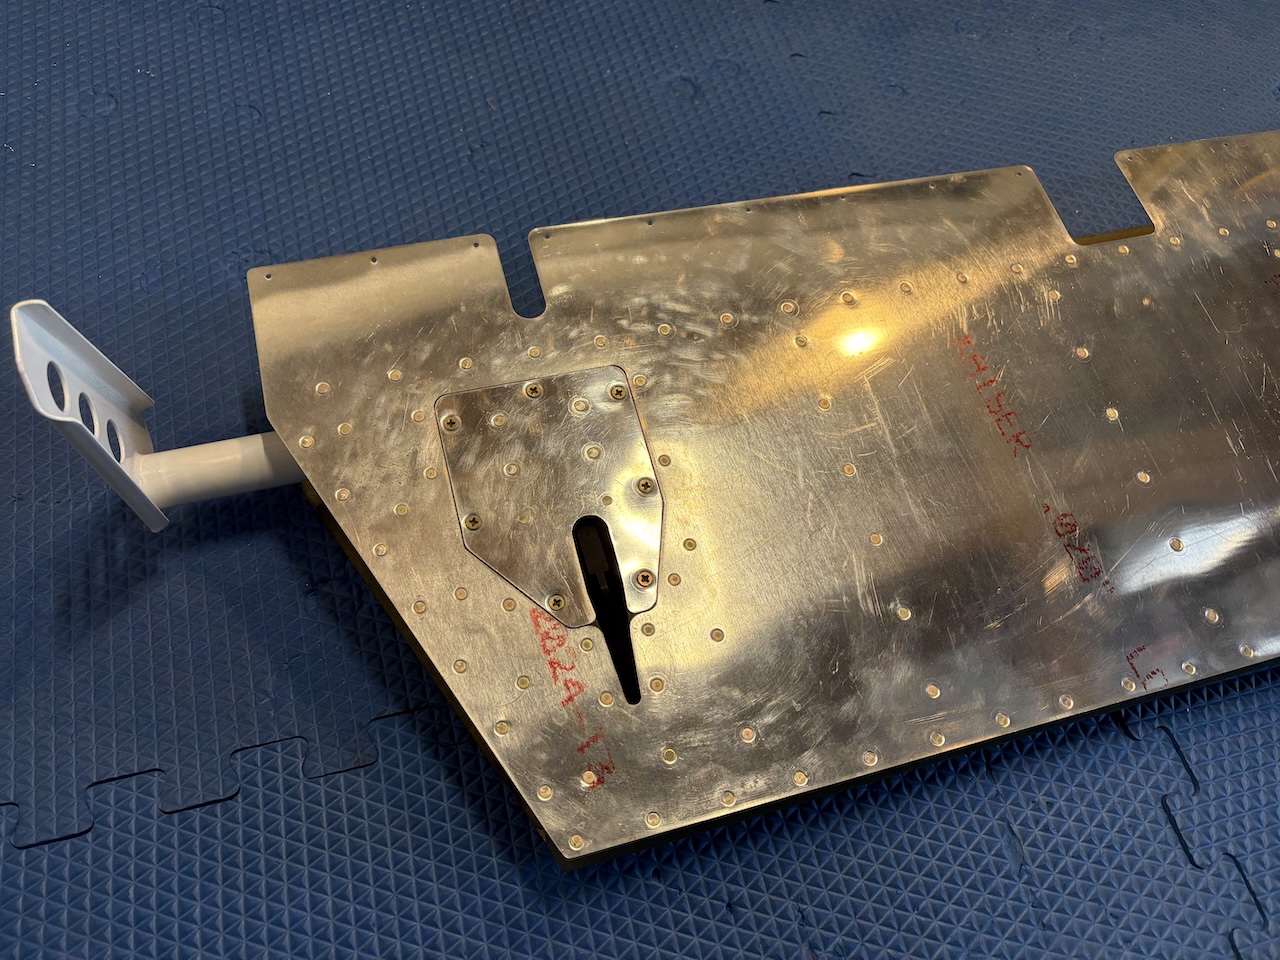
After the trim motor was done, I switched over to the dreaded trim tab... The first thing you have to do is finalize the trailing edge bend and then bend the edges down to form the ends of the trim tab. I have tried to do this five times now over the course of my two builds and these two tab bends were the first successes that I've had in this process! These are 'after' shots of the bend on the first side of the trim tab.
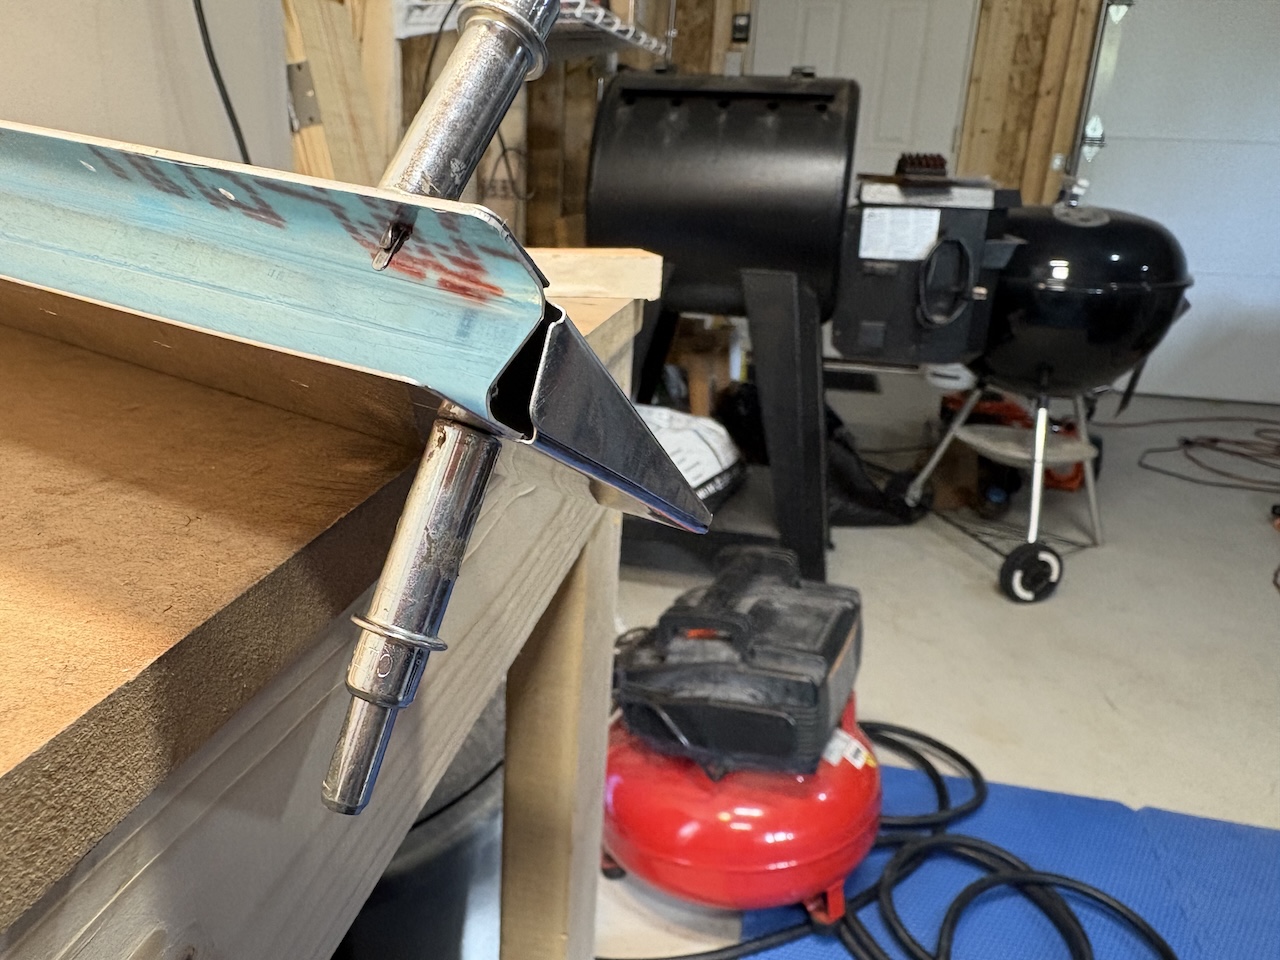
It came out great!
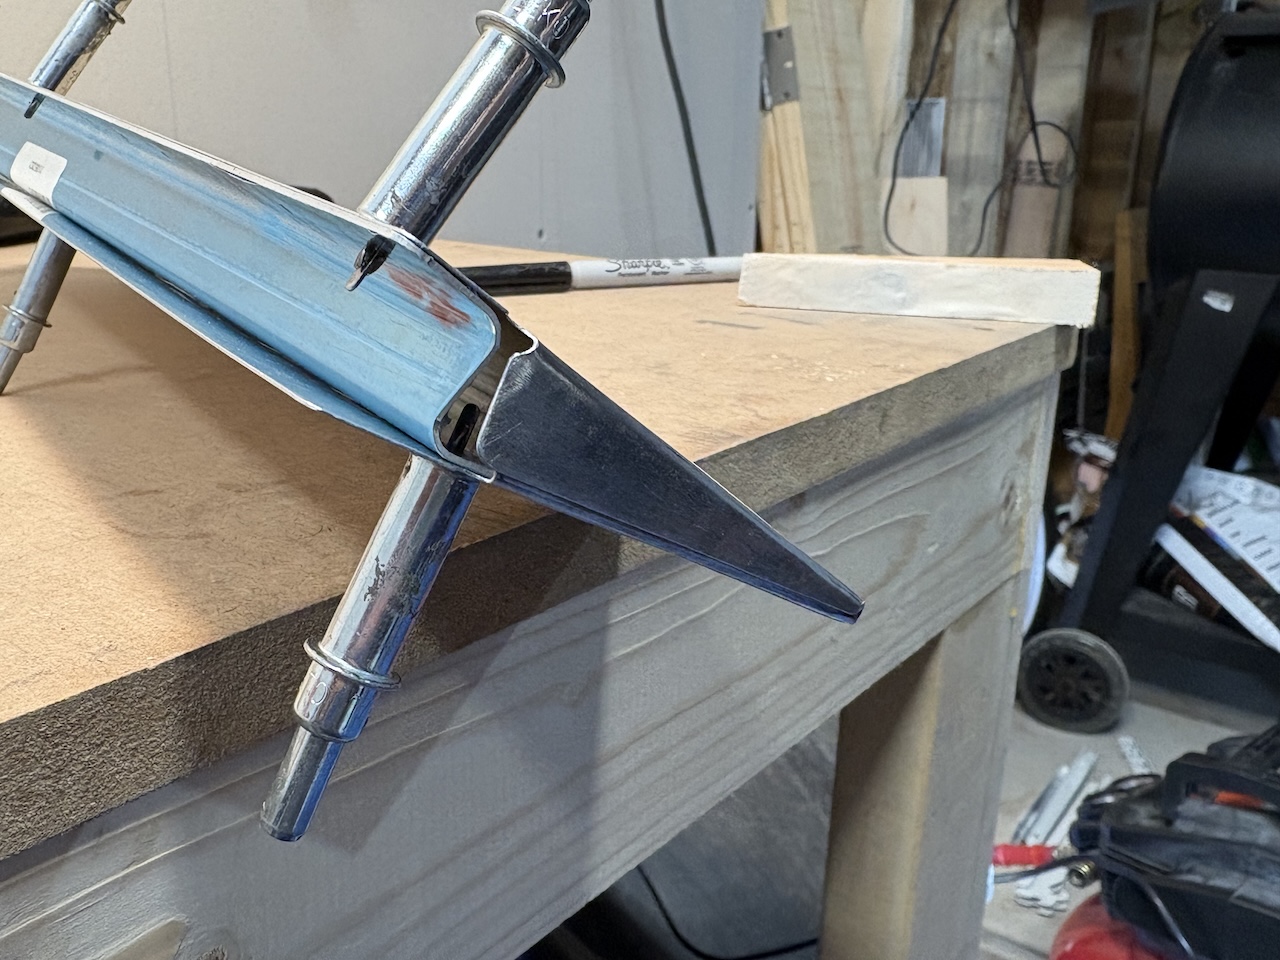
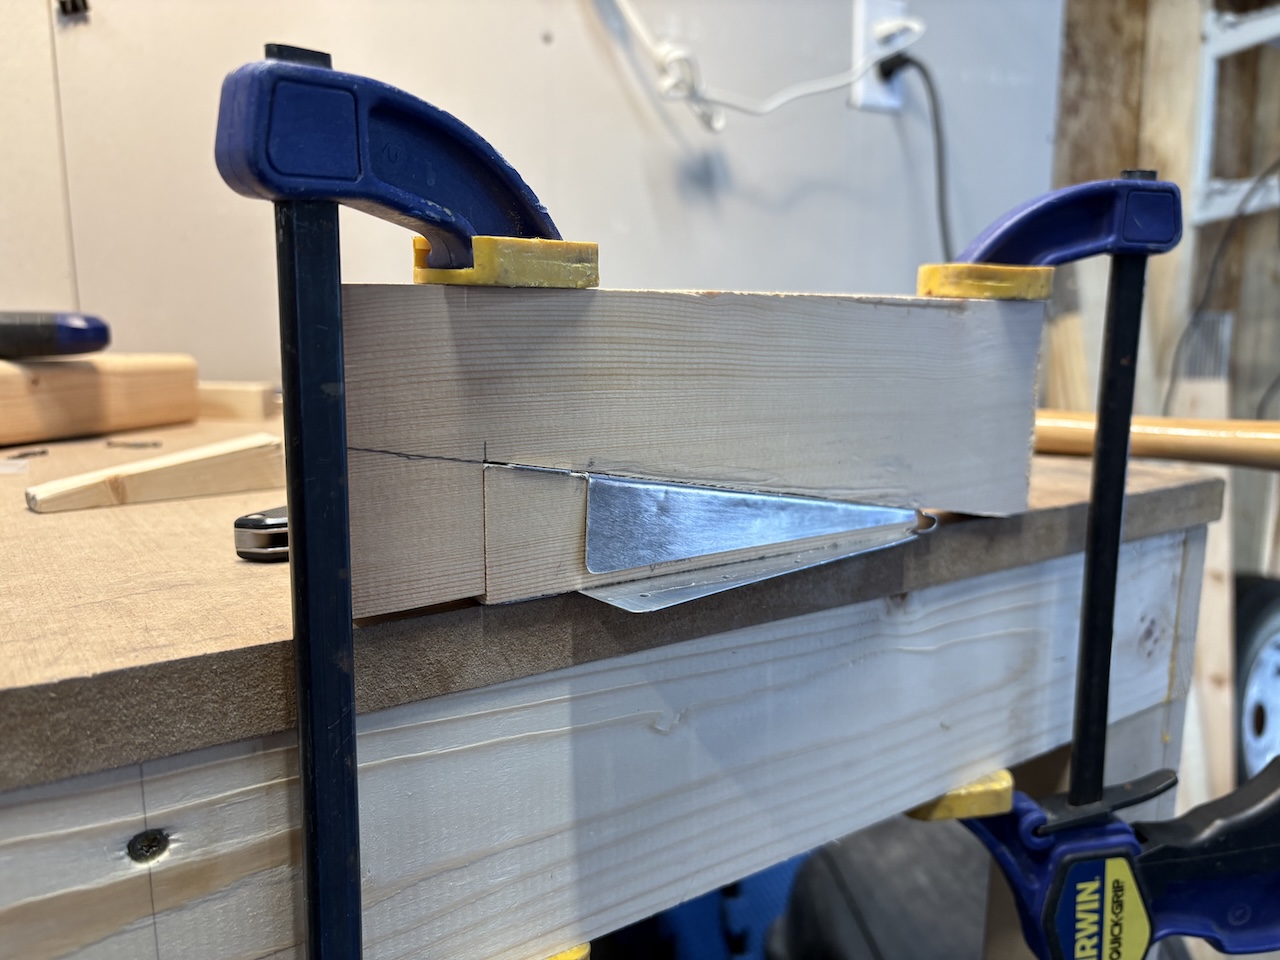
Here's doing the other side with my angled blocks double-sided taped to the skin and clamped to the bench. I had to make a set of angled blocks for each side of the tab as they are different enough that I didn't think one would work well for both sides.
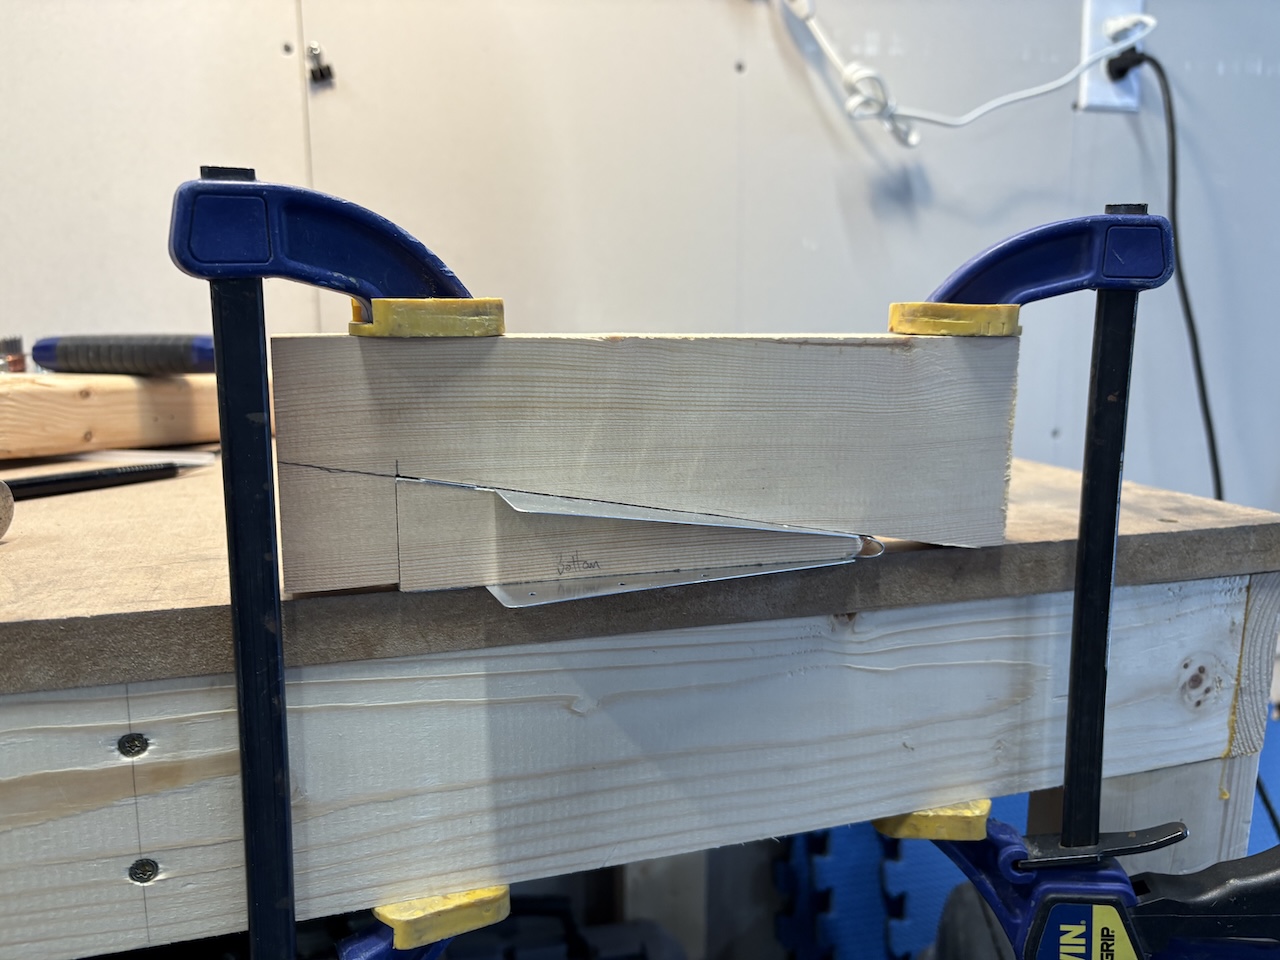
Bend the bottom tab first (tab is upside down in this picture) and then bend the top tab down over it so water doesn't run into the trim tab.
Next, I measured for the hinge and carefully placed and clamped it to the tab and then match drilled holes into the hinge using the predrilled holes in the tab as the guides.
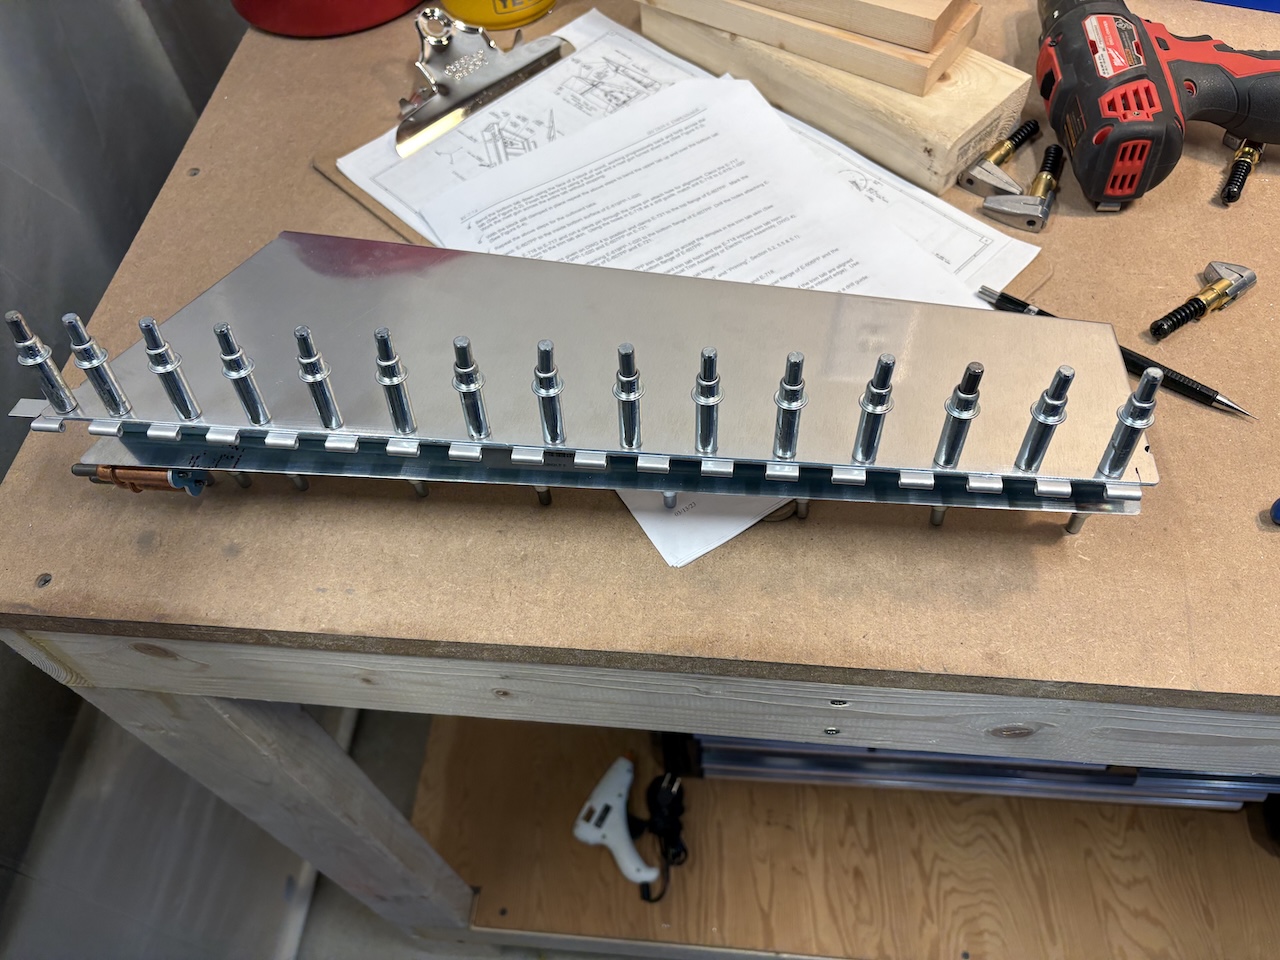
I did some more work including deburring parts, countersinking and dimpling the skins and spar, and trimming the little 'horns'. I think next up will be priming and assembling. I'm very happy with how this thing has turned out so far!
