19 Apr 2024 - 6 hours
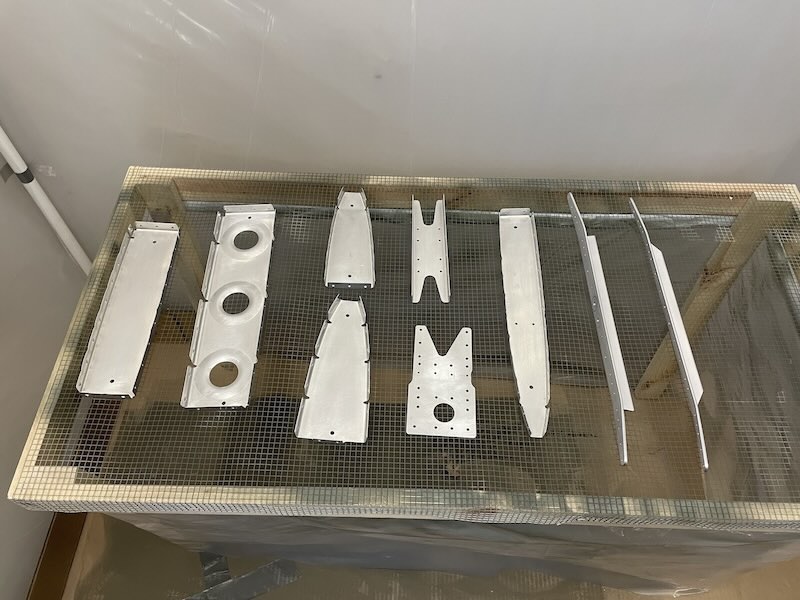
I picked right up by deburring the new rear spar parts. Then I took all the HS skeleton pieces that were still unprimed and cleaned them up by giving them a good scrub with a scotch brite pad and some Bon Ami scouring/cleaning powder. This leaves the surface of the part scuffed and pretty thoroughly cleaned so the primer can adhere.Here are some of the parts post cleaning and ready for primer. I just used a rattle can of self-etching primer for these parts. There were enough parts that I probably should have broken out the spray gun and used the Sherwin-Williams primer but for some reason I have a mental hurdle with that and a spray can is really easy.
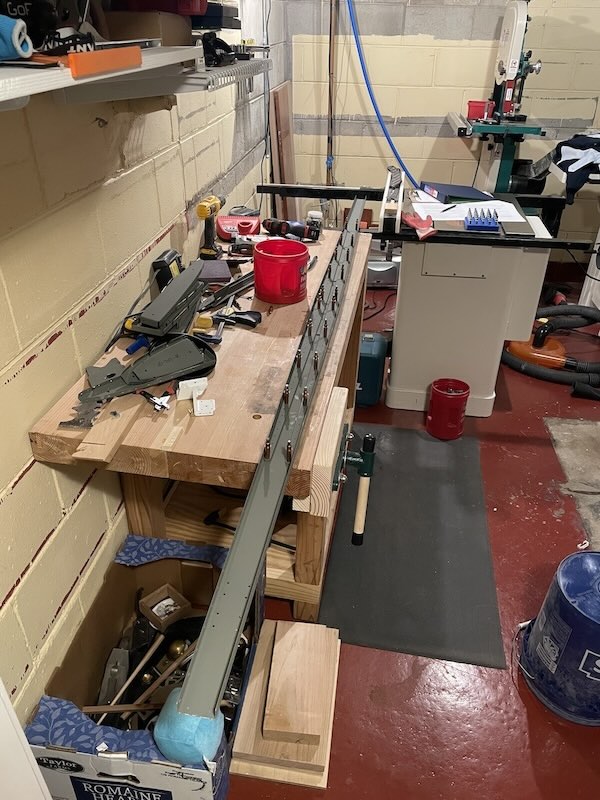
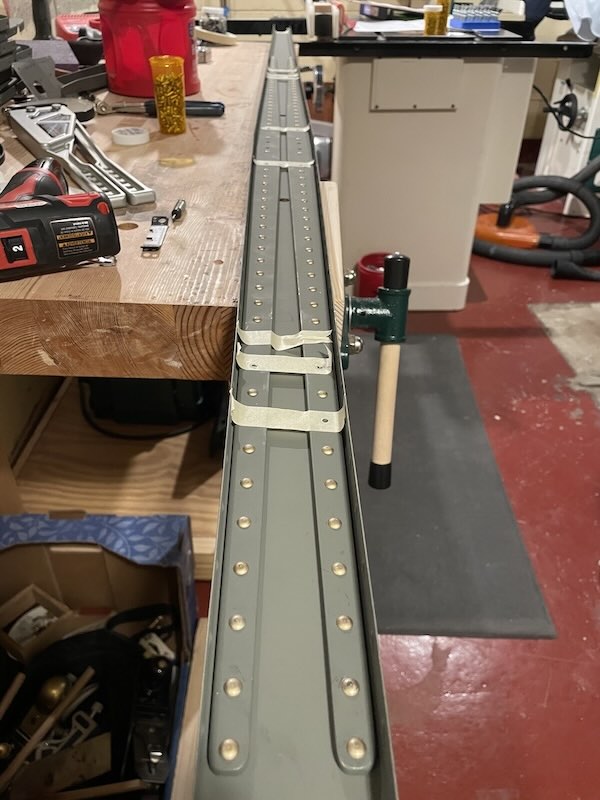
Once the primer had cured enough, I clecoed the rear spar halves to the two reinforcement bars. Here it is in all its 99" of glory (I did a test run to be sure I could get the spar around the corner and up the basement stairs before I set any rivets).
The primer came out quite nice! I don't know if the cleaning helps, but it doesn't seem to hurt and is a nice peace-of-mind.
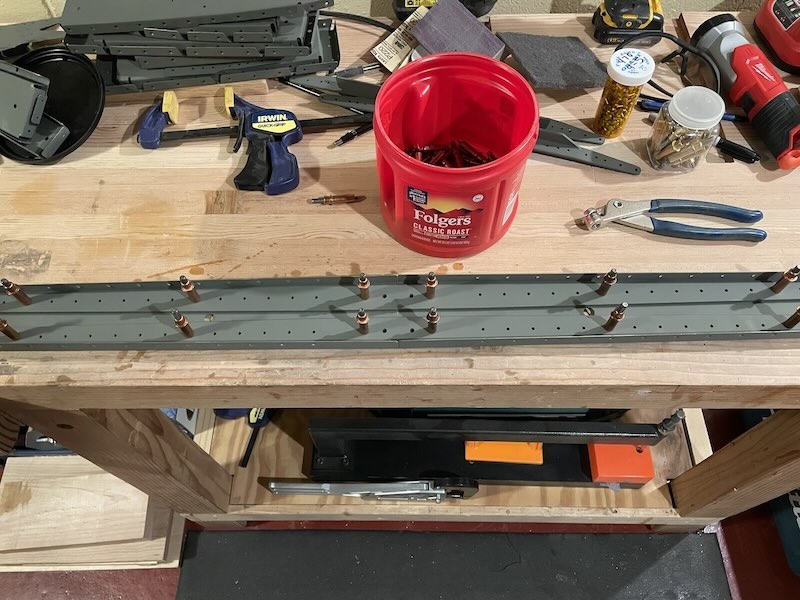
I then taped up the holes that attach ribs and brackets so I don't accidentally put rivets in those spots before all the parts are in place.
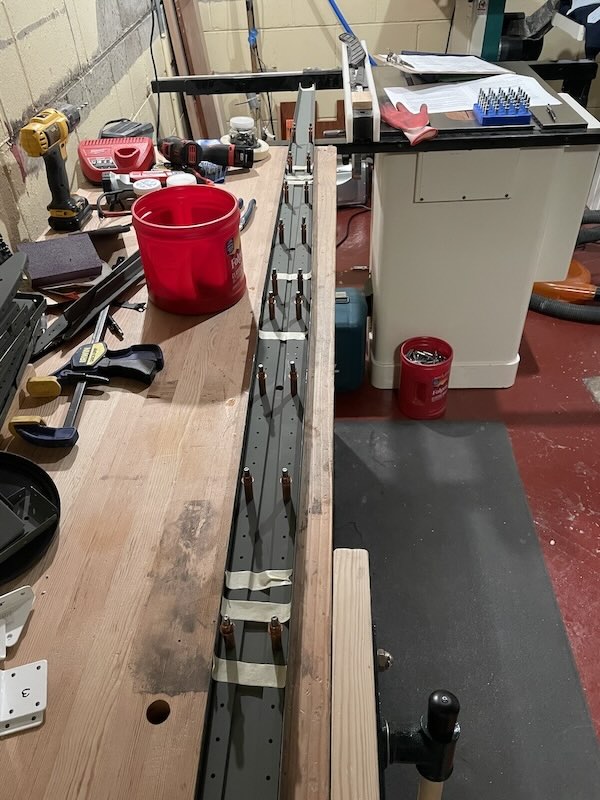
The rear spar is now firmly attached to reinforcement bars!
I got a lot done today and it did indeed come together quickly as I had hoped at the end of yesterday. I look forward to more quick progress like this as it boosts my morale after having taken over a year off of building! Also, I need to bank the morale when I can get it because I know there are lots of frustrations inevitably to come.