24 May 2024 - 0.7 hours
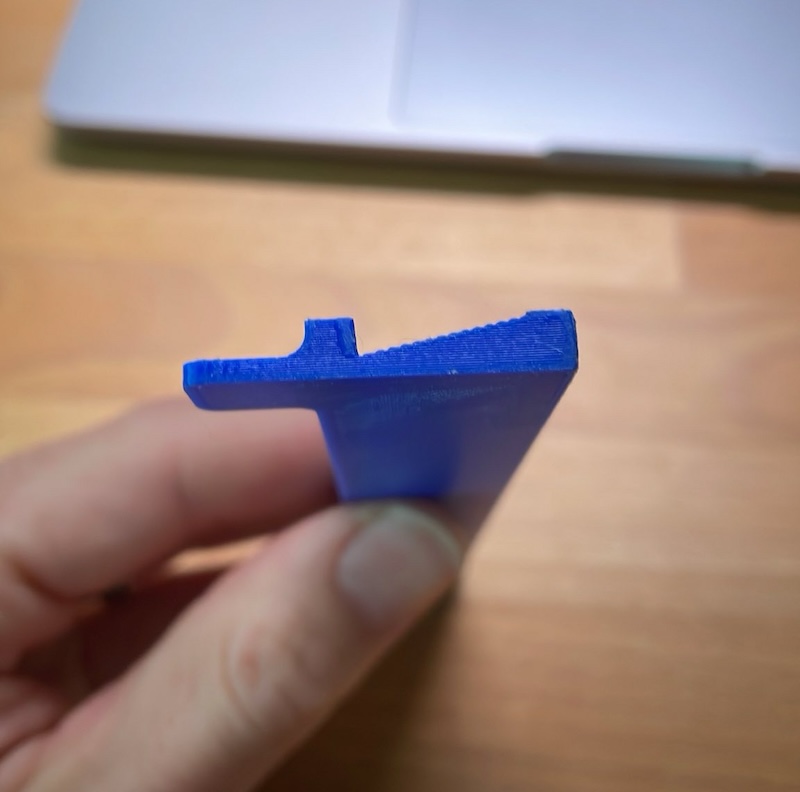
I have been dreading working on the trailing edge of the rudder because the instructions talk about how easy it is to mess it up. I've run out of rudder stuff to do so tackle the trading edge I must. The wedge must be countersunk to accept the dimpled skin. No biggie, however, it must be countersunk on both sides of the hole, and it's a wedge so it's not flat, and it's very thin so the pilot on the countersink needs somewhere to sit in, and if you just set the wedge up off the bench, there is space for the pilot, but the wedge is so thin, the countersinks from either side intersect, widening the hole in the part so there is no hole for the pilot to track in on the second side countersinks.All that to say, doing it freehand sounds like a recipe for disaster, especially since there are about 40 holes that each need two countersink operations, which means about 80 opportunities to mess up. I decided to use the drill press and 3d print a jig to hold the wedge flat. Some simple measurements of the wedge, about 15 minutes designing the part and one hour printing it et voila:
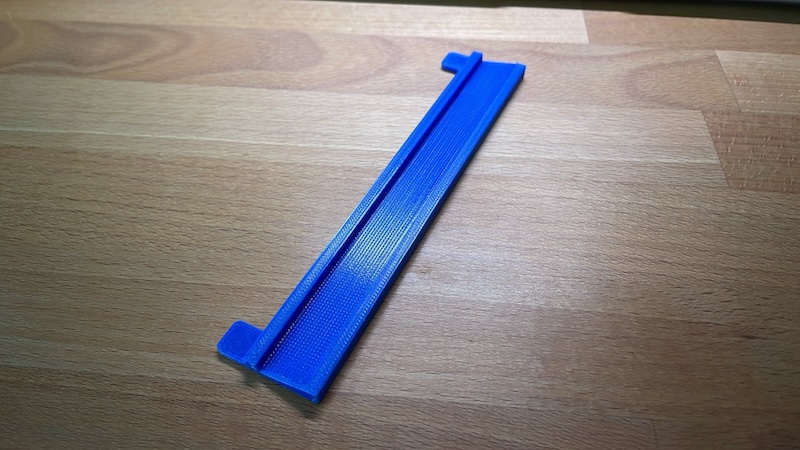
I also gave it little clamping ears to help hold it in place on the drill press.
Here it is in use. It made a potentially delicate/tricky operation into a mindless manufacturing process!
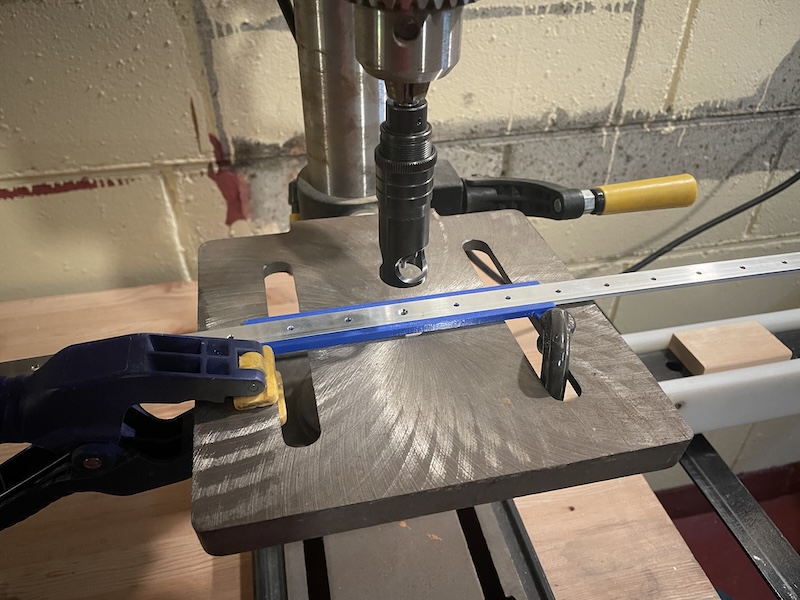
Everything came out great so I'm glad I took the time to make this fixture.
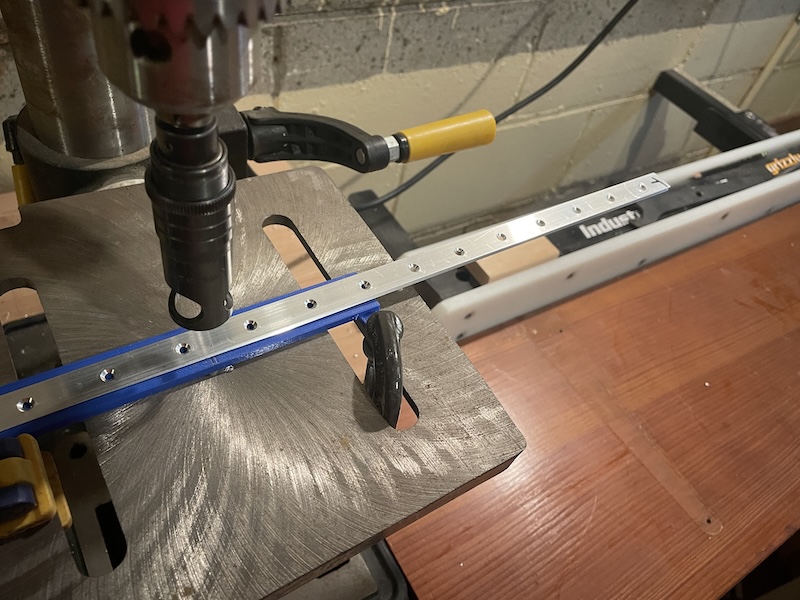
I also bought some 48" aluminum angle and JB Weld epoxy for the final riveting of the trailing edge. I need to match drill the angle to the trailing edge hole pattern, and that will hold the trailing edge straight when I epoxy and cleco the wedge in place. Then, when the epoxy is set, I can double-flush rivet the trailing edge to hopefully get a nice straight part!